Ambient Light Metering
In this article from our Professional Photographers on Light Metering series, photojournalist C.S. Muncy explains how he uses a handheld meter in the field to get precise exposures with black-and-white film.
Every environment offers both great opportunities and challenges for photographers trying to get just the right exposure. Finding the right way to measure the light hitting your subject can mean the difference between a mediocre image and a great one. In this article, I'm going to address one of the more basic ways to find a proper exposure using your handheld ambient light meter.
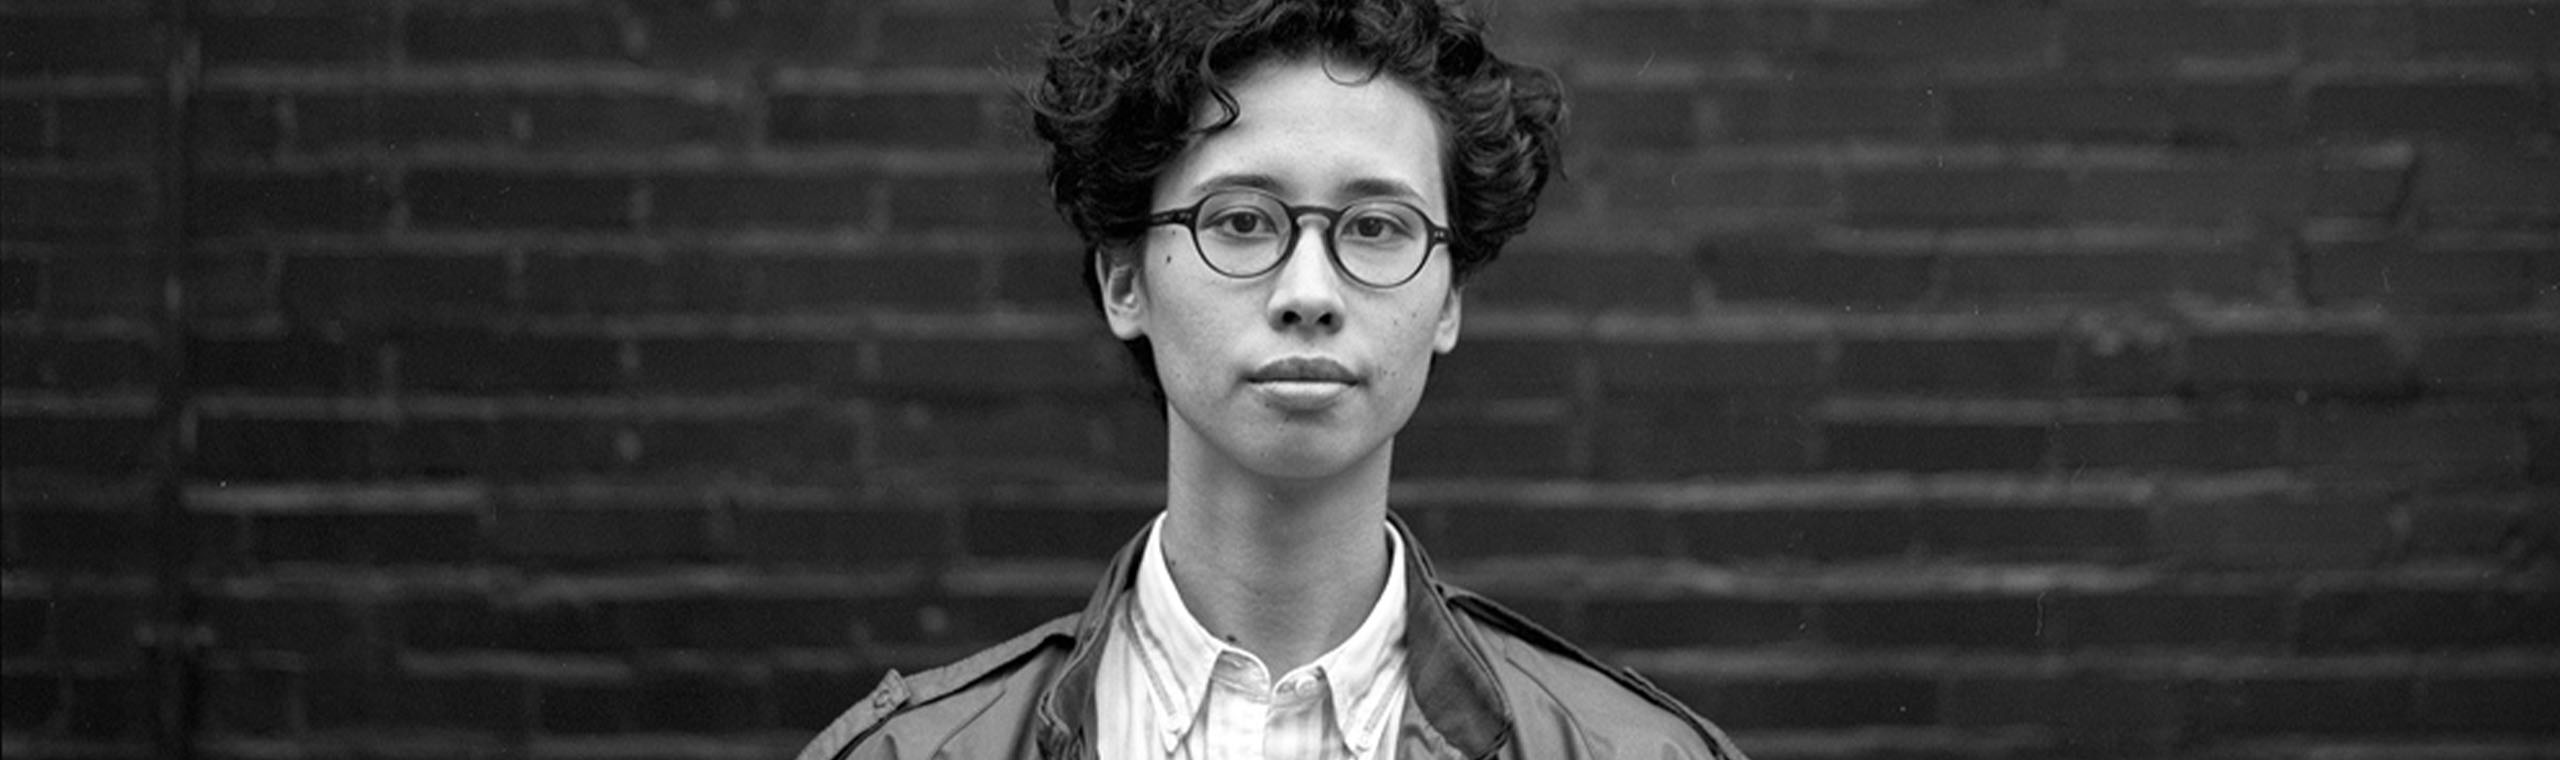
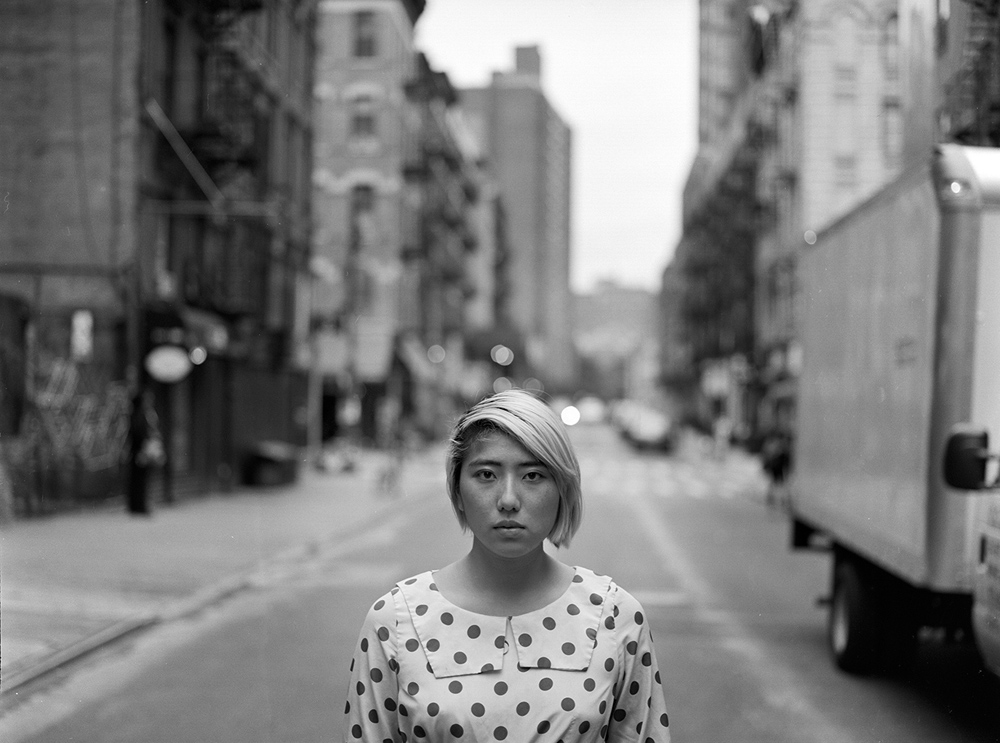
Most meters offer several options. Ambient light is "non-directional," and I tend to measure for it when I'm in an environment offering diffused light. In the images below, I was shooting on a mildly overcast day using Kodak 125PX film with a Mamiya 645 Pro and an 80mm lens opened up to f/2.8. For the purpose of these instructions, all photos were taken manually and the exposure measurements were taken with a Sekonic L-478DR LiteMaster Pro meter.
I love shooting in black and white with an overcast sky; the light tends to hit subjects more naturally and the shadows are slightly subdued. When shooting on bright days, you have to use a scrim (or at least a reflector) to achieve similar results.
To meter for the first two photos, I held the meter as close to the subject as possible and took a number of readings. You can use the "memory" function and take an average reading from multiple measurements. The white bulb at the top of the meter was pointed towards me, measuring the light falling on the subject rather than being reflected from it. Your in-camera meter is great when you're running and gunning, but if you have the time, a handheld meter can provide far more accurate readings. When you have the time to take multiple readings, you will come away with a far more precise exposure.
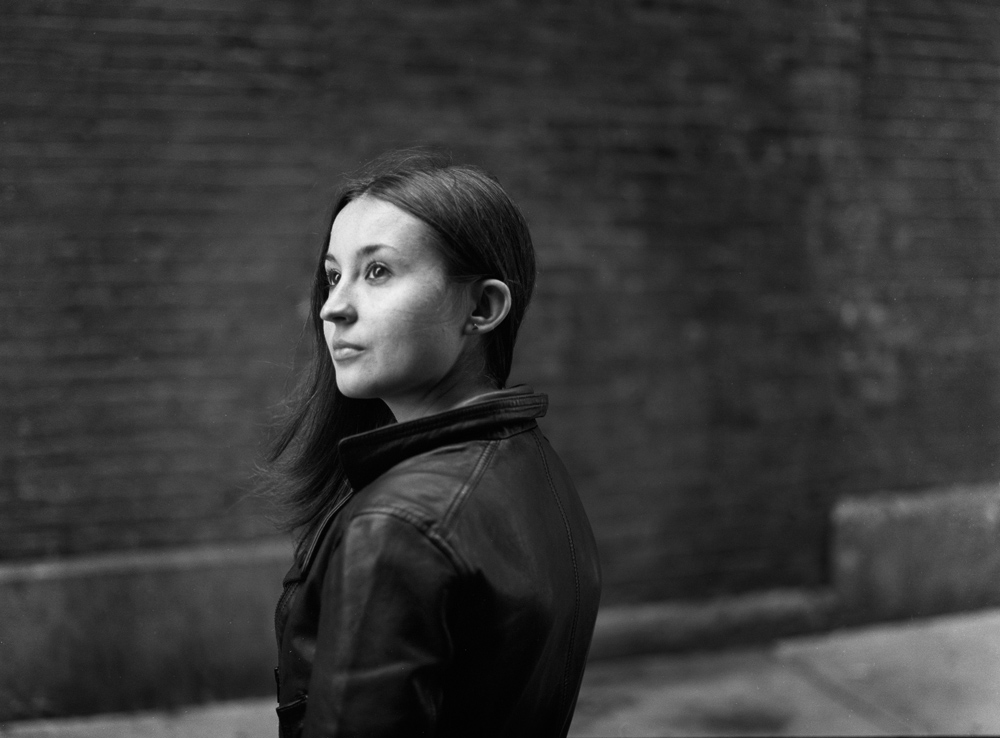
The third image would have been a bit more challenging if I had been using the in-camera meter, which only measures the light reflected off the subject. Because she was relatively pale, but standing against a wall that was painted black, I likely would have ended up with an overexposed image. By measuring the light falling on her, rather than reflecting from her, I was able to get a more accurate idea of what the proper exposure time should be. On brighter days, you have to be careful not to hold the meter in your own shadow, as this can affect your measurements and result in an overexposed image.

When shooting with digital you need to be meticulously accurate with your light readings. Unlike film, which has a wider latitude when it comes to your exposure, digital (especially JPEGs) requires you to be spot on. What looks good on the finder may be, in reality, wildly overexposed on your computer screen. A handheld meter isn't always practical, especially in high-impact scenes, but for photos where you need your exposure right on target, nothing beats having one on hand.
C.S. Muncy is a freelance photojournalist based out of New York City with a client list that includes The New York Times, The Wall Street Journal, Newsday, The New York Daily News, and The Village Voice. As a freelancer, he’s covered such subjects as the BP oil spill, the fight for same-sex civil rights, the takeover of the state capitol in Madison, Wisconsin, and Occupy Wall Street. A graduate of the Defense Information School, he enlisted in the United States Air Force in 2002 and is currently a photographer with the New York Air National Guard.
Read more from C.S. Muncy and other professional photographers in our Professional Photographers on Light Metering series: