Studio Lighting: Understanding Ratios
Determining exposure and working with shadows are the basic elements of studio photography. Jim Zuckerman explains how to meter and apply lighting ratios, position lights, and place shadows to craft the look of your studio images.
Studio lighting intimidates a lot of photographers, but there’s really no mystery about it at all. It comes down to two aspects of lighting: exposure and shadows. Of course, other things come into play, like color, background, composition, hair, and makeup if you are doing something like shooting a model. But these factors are present with pictures you take in any environment. In the studio, you’ll want to pay special attention to the exposure relationships between the various light sources, as defined by ratios, and then you will want to place the lights so that they make the subject look good. That’s where shadows become important.
First, let’s look at lighting ratios. If you place a light directly in front of a model, as in image 1, there isn’t a ratio to deal with at all. This is a straightforward exposure. To set up this image, I walked over to the model and took a reading with the meter in incident mode. I pointed the white dome at the camera, popped the flash, and got a perfect exposure readout on the meter’s LCD. I used a medium-size softbox to illuminate the model with diffused light.
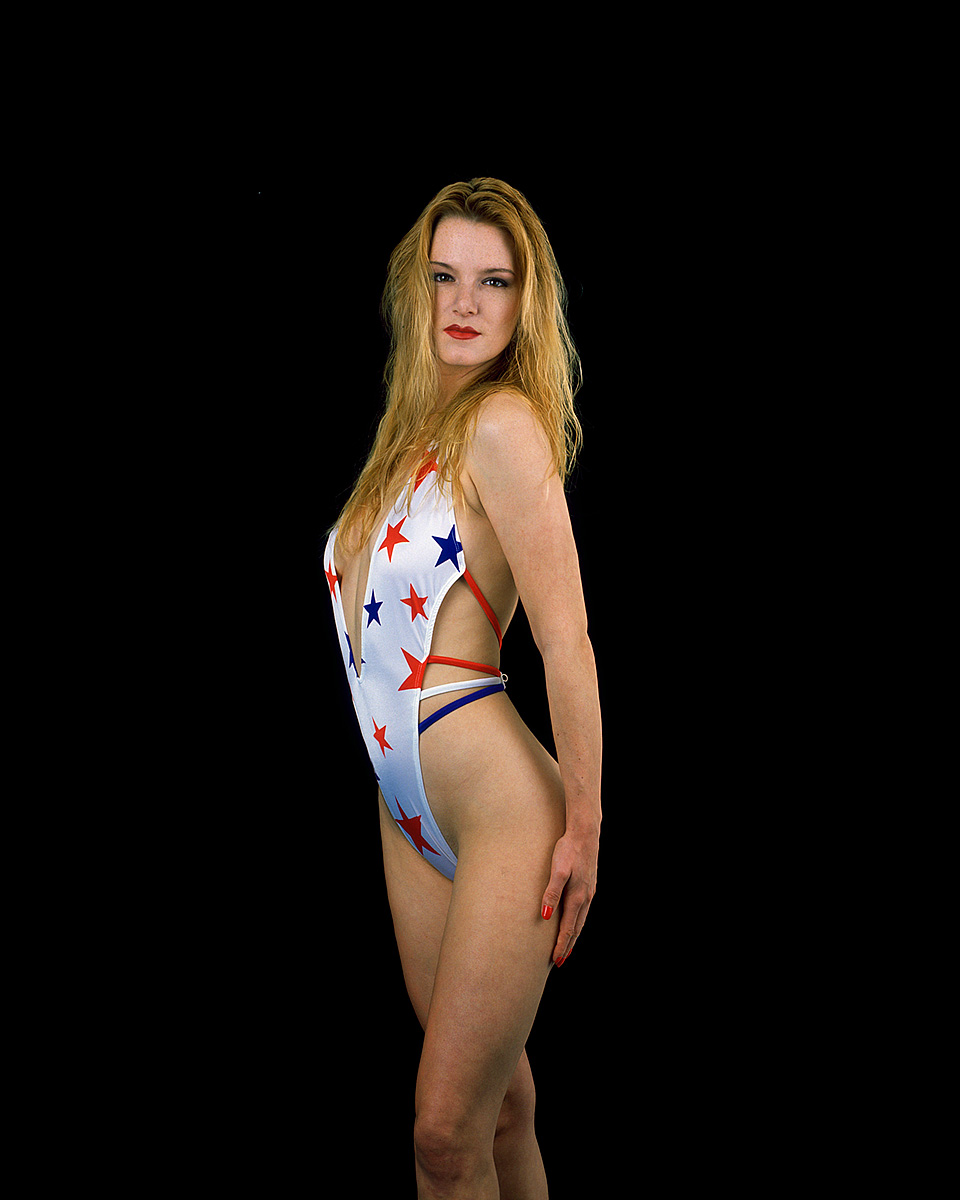
Image 1
When two lights are used, such as a main and a fill, things get interesting. You can vary the light output (and therefore the exposure) with each light by varying the distance between the light source and the subject as well as changing the power setting on the strobe equipment. When there is a one f-stop difference between the main light and the fill light, the light ratio is said to be 2:1. The portrait in image 2 offers an example. To determine the light ratio, I point the meter at the light source and not the camera. When the readout of the two strobes shows a one f-stop difference (shutter speed isn’t a factor here), such as between f/11 and f/16, I know the lighting will look like what I captured in the male portrait. Again, I use the incident function and set the handheld meter to flash mode.
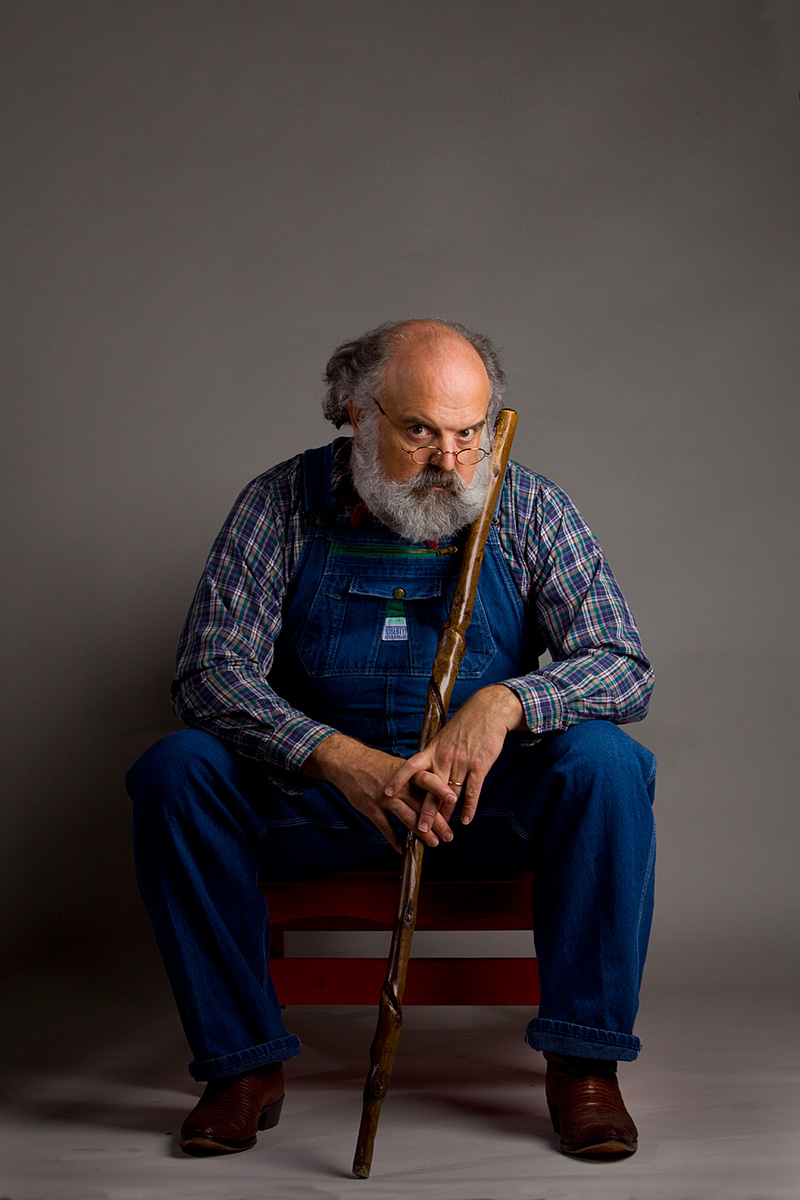
Image 2
A 3:1 lighting ratio occurs when the light discrepancy between two light sources is one and a half f-stops. All digital cameras can now measure light in 1/3 f-stop increments, but the traditional 3:1 light ratio is defined with half f-stops. Since sophisticated handheld light meters can read the light in tenths of an f-stop, it’s easy to measure one and a half f-stops if that ratio is desired. The still life image of Indonesian dolls and a vase of flowers, in image 3, shows a 3:1 ratio when comparing the light on the right side of the image to the light on the left side. The portrait in Venice taken at dawn when the ambient light was virtually nil, image 4, also shows a 3:1 light ratio. Similarly, in the portrait of a young girl, image 5, I used the same 3:1 ratio since this is my favorite type of portrait light. It is dramatic and yet we can see all the detail to define the subject perfectly. This picture looks like it was taken in a private home, but it was actually done in the studio. The “window” is simply a sheet of glass with wooden molding cut and glued onto the surface to simulate an old-fashioned window frame.
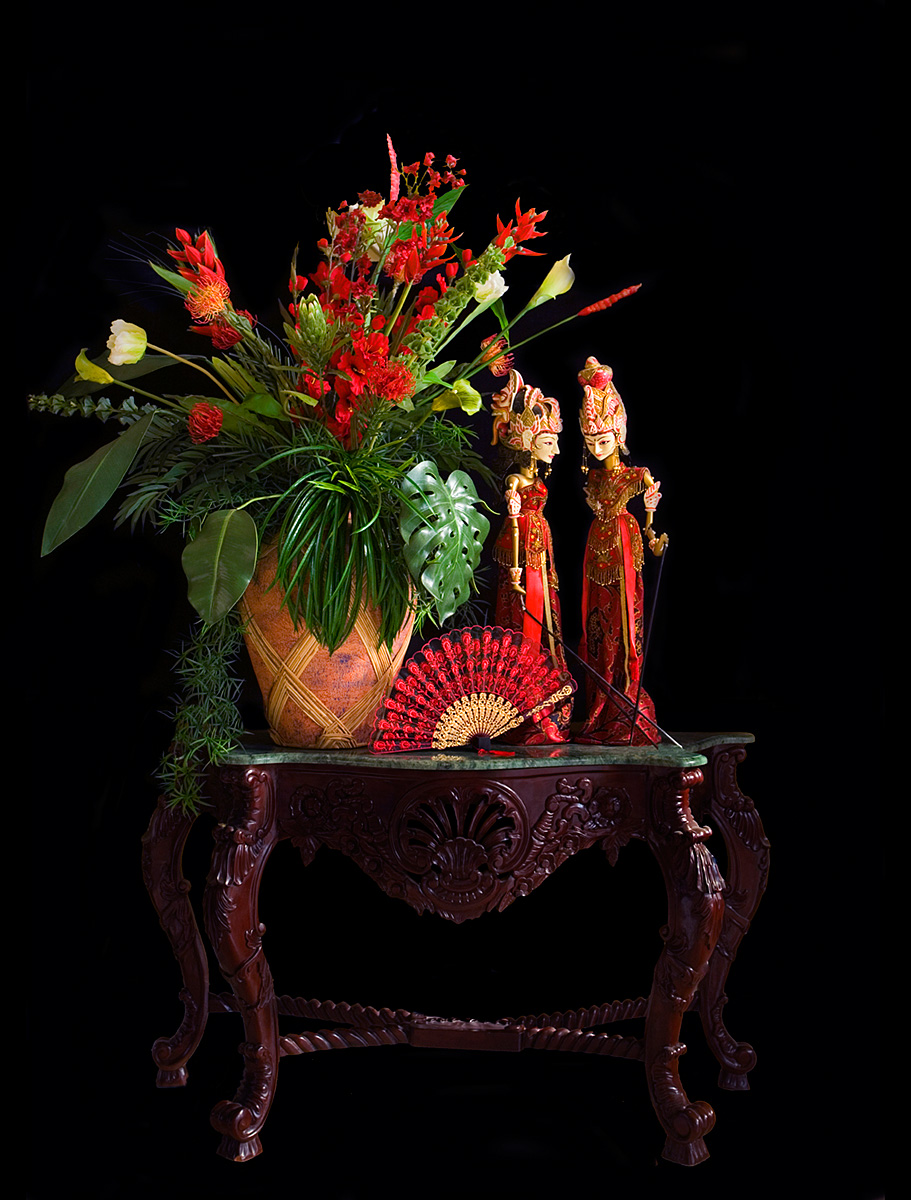
Image 3
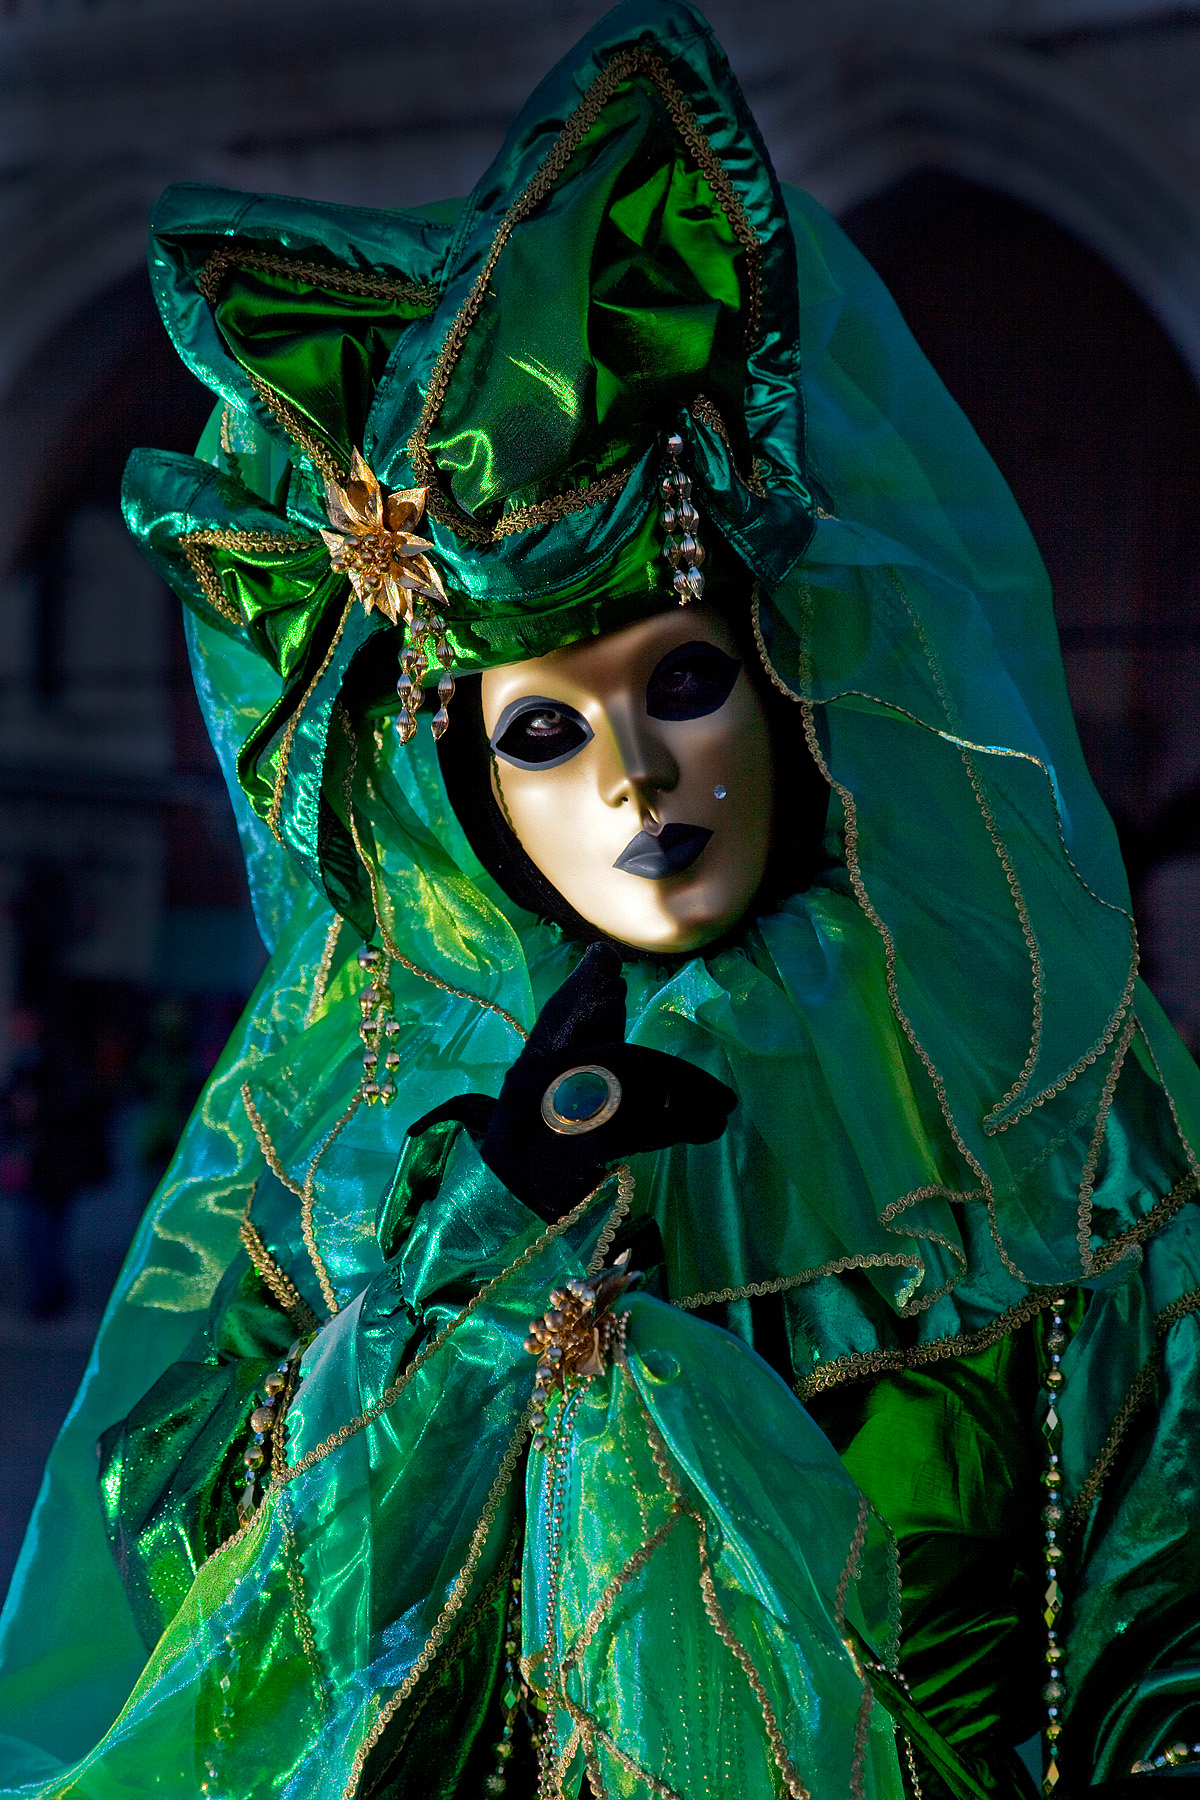
Image 4
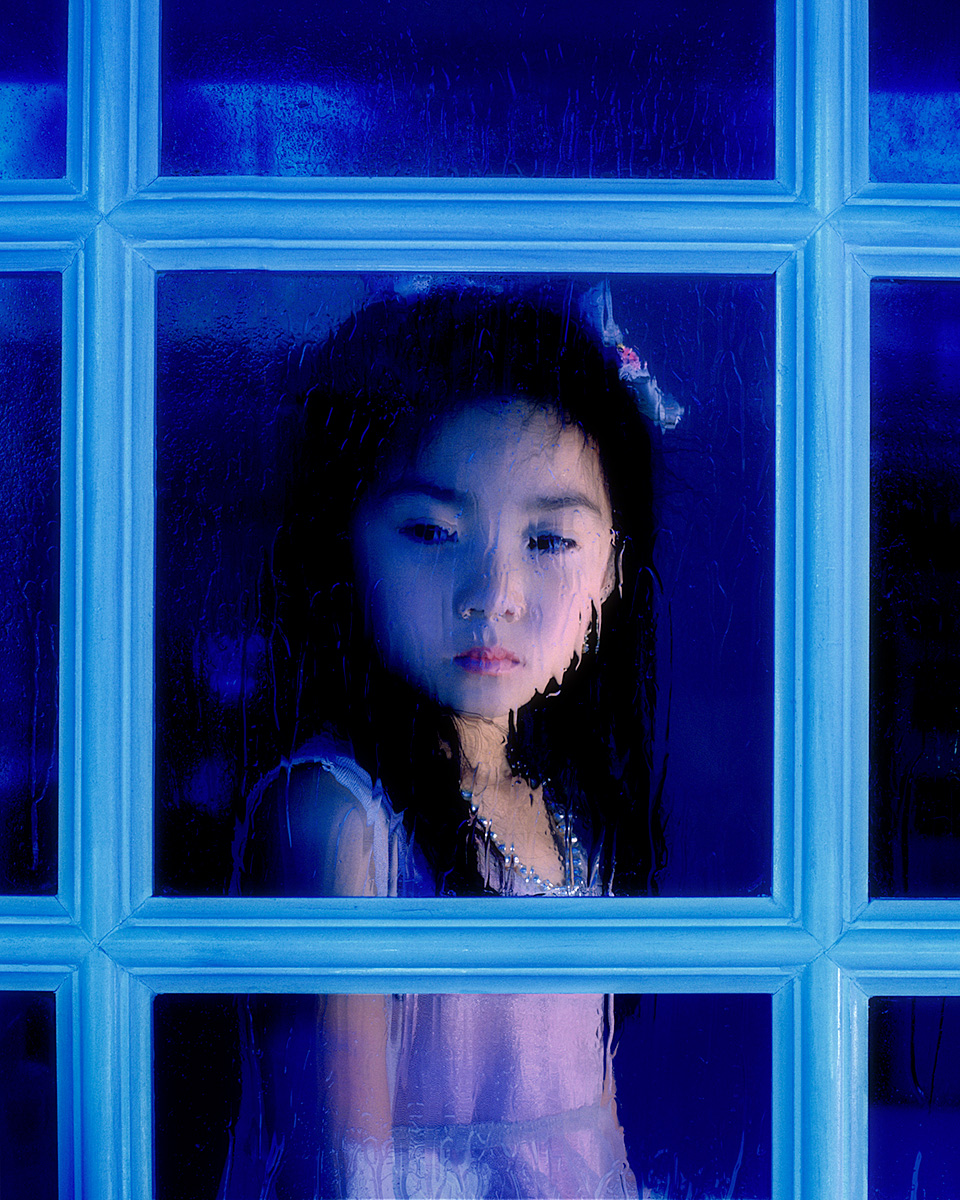
Image 5
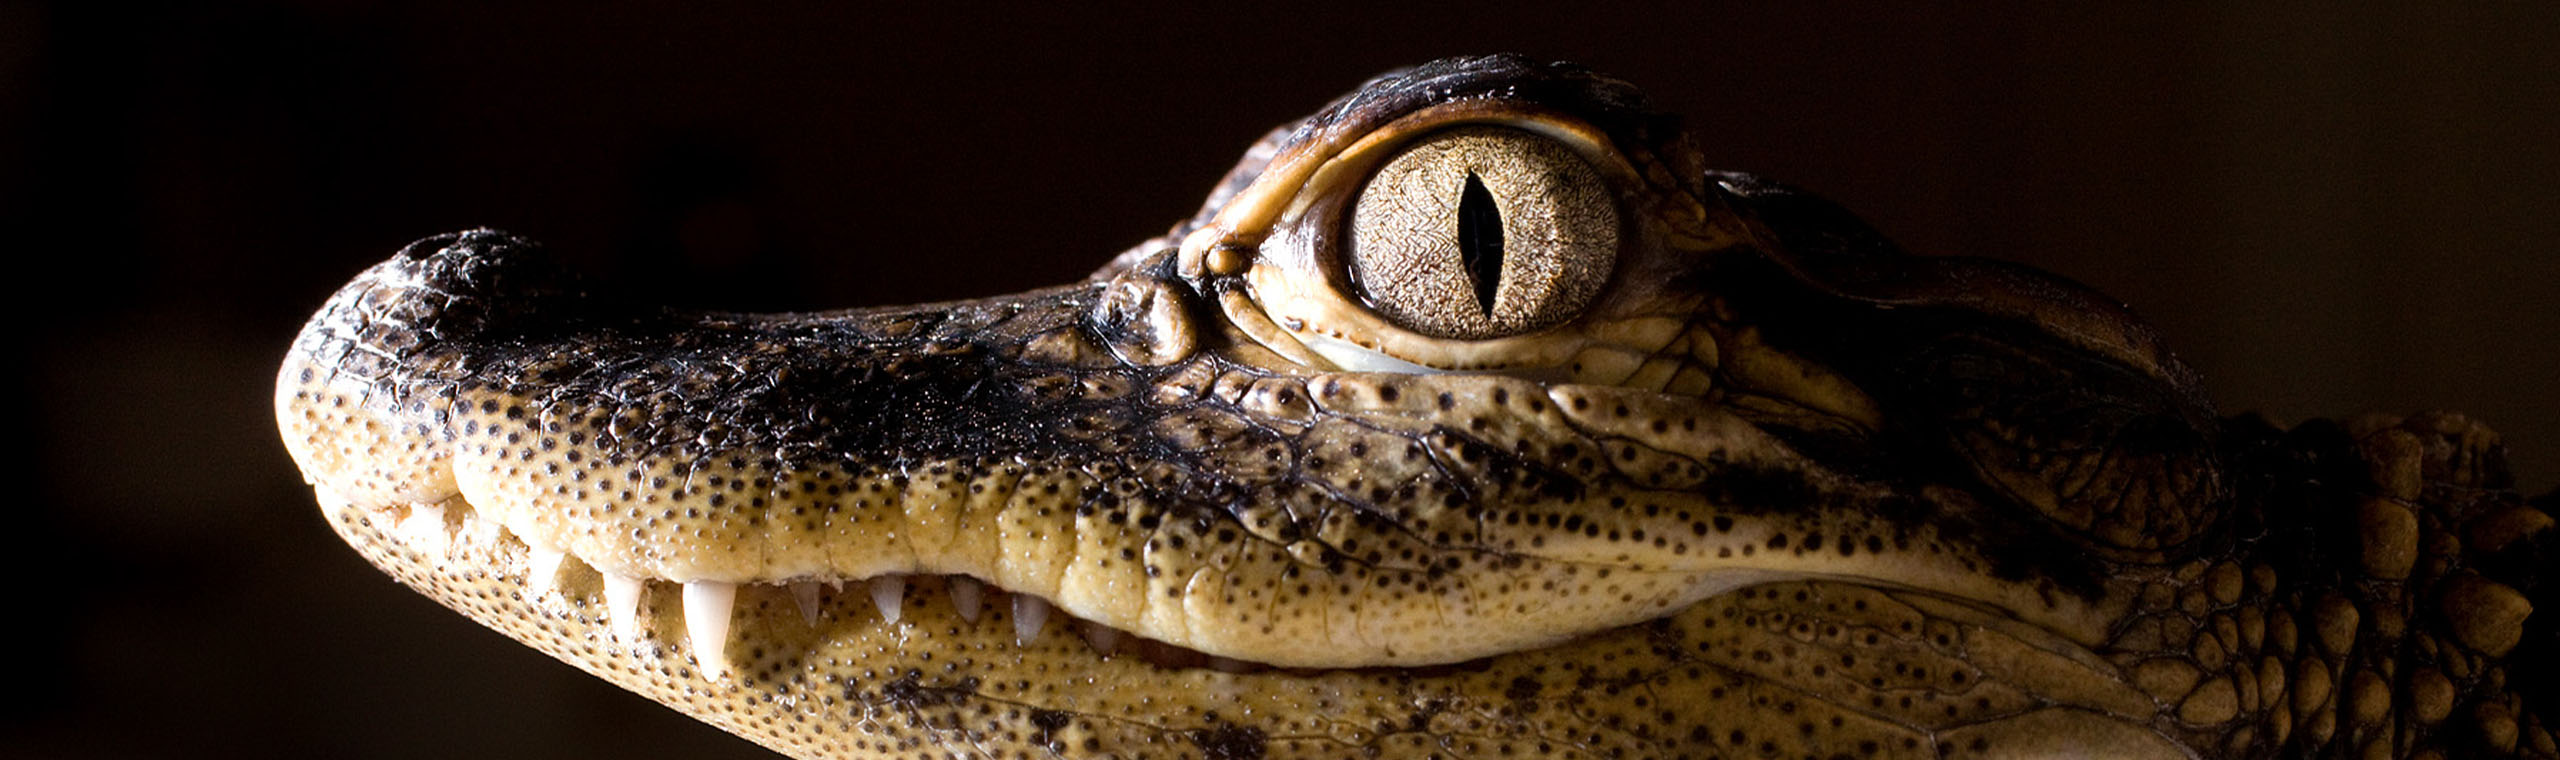
The juvenile alligator in image 6 was photographed in a makeshift studio with a black background, and the lighting on the reptile is 4:1, which is a two f-stop difference between the brightest highlights and the dark shadow areas on the head.
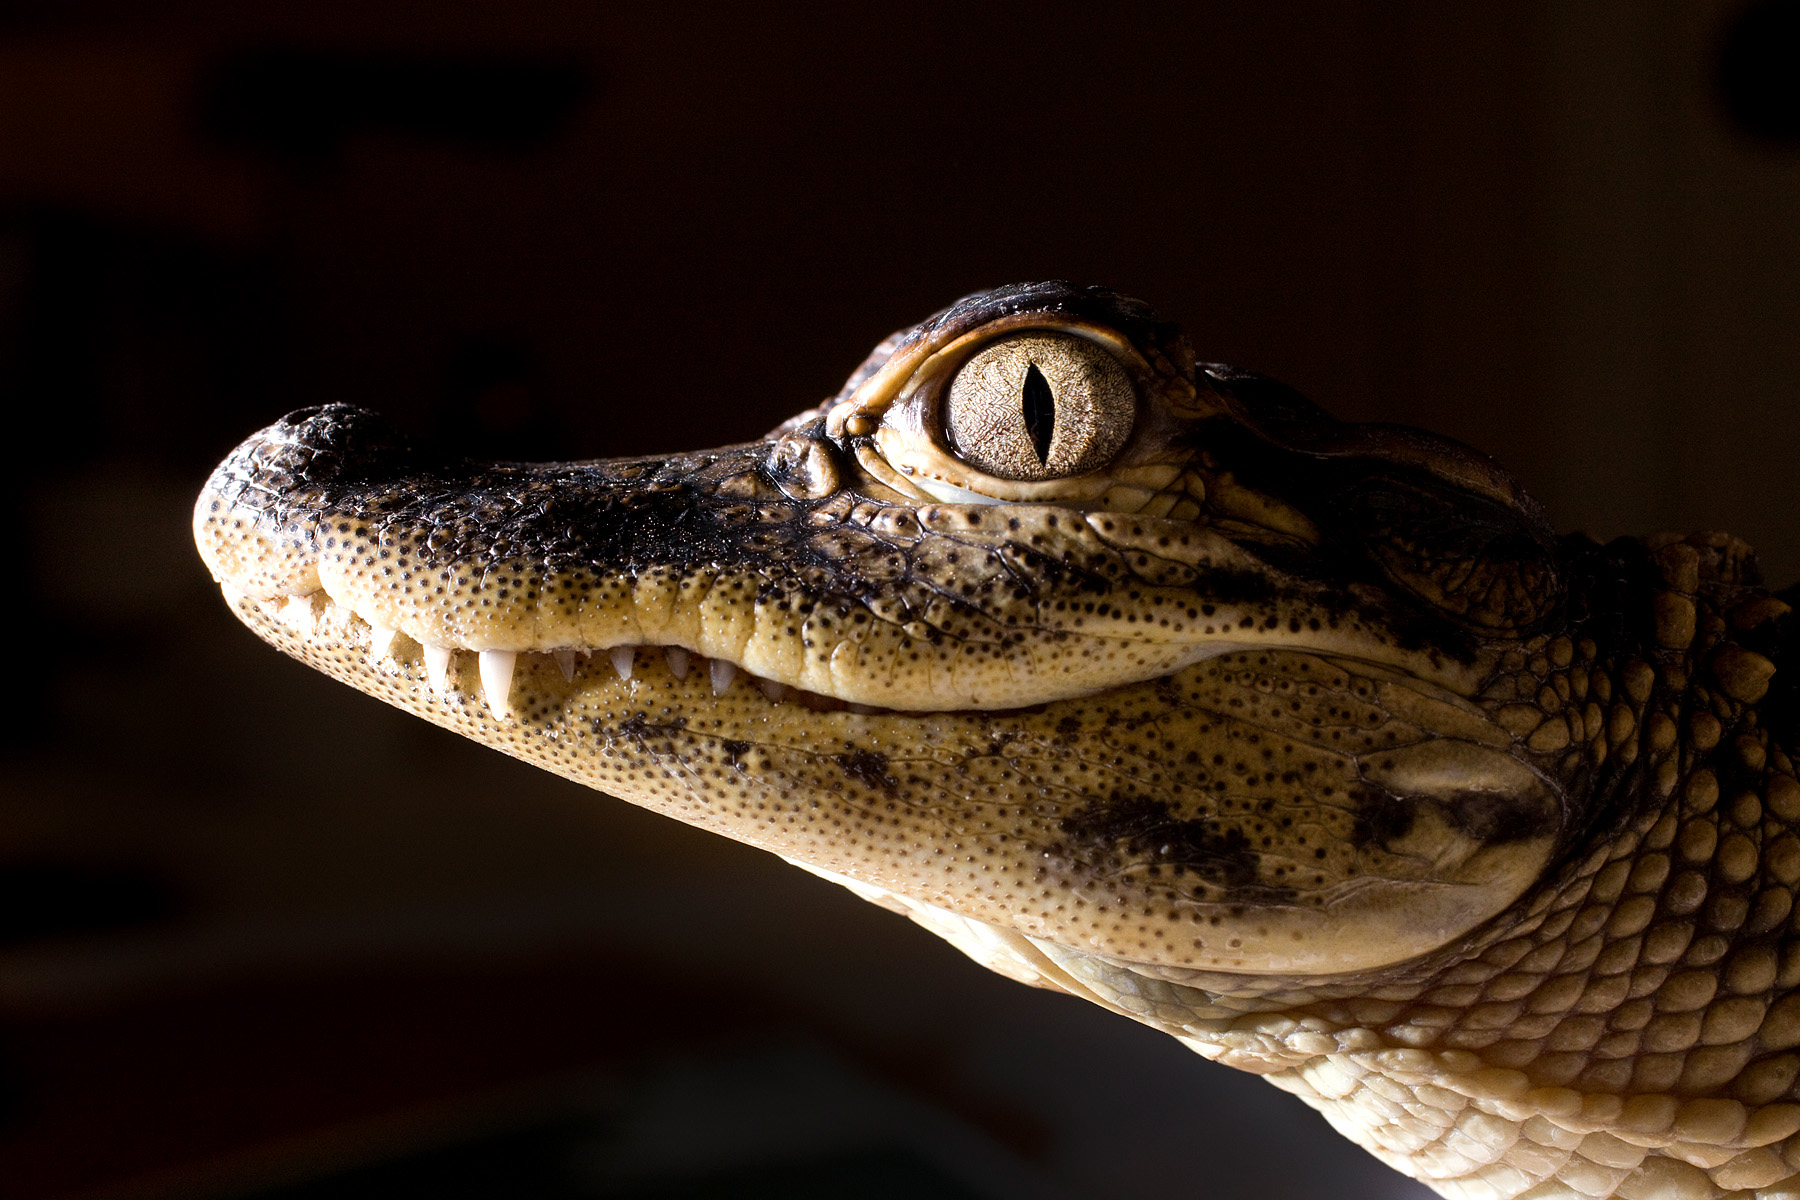
Image 6
When one side of a face—human or animal—is solid black, as in image 7, there is a 6:1 light ratio, or three f-stops’ difference. I usually reserve this kind of extreme contrast for male portraits, such as image 7, because it has a masculine quality to it. Conversely, the lighting you see used for many of the beauty shots in magazines is completely shadowless and is considered feminine, as in image 8. In that kind of picture, a light ratio is not relevant because the light is evenly spread across the face.
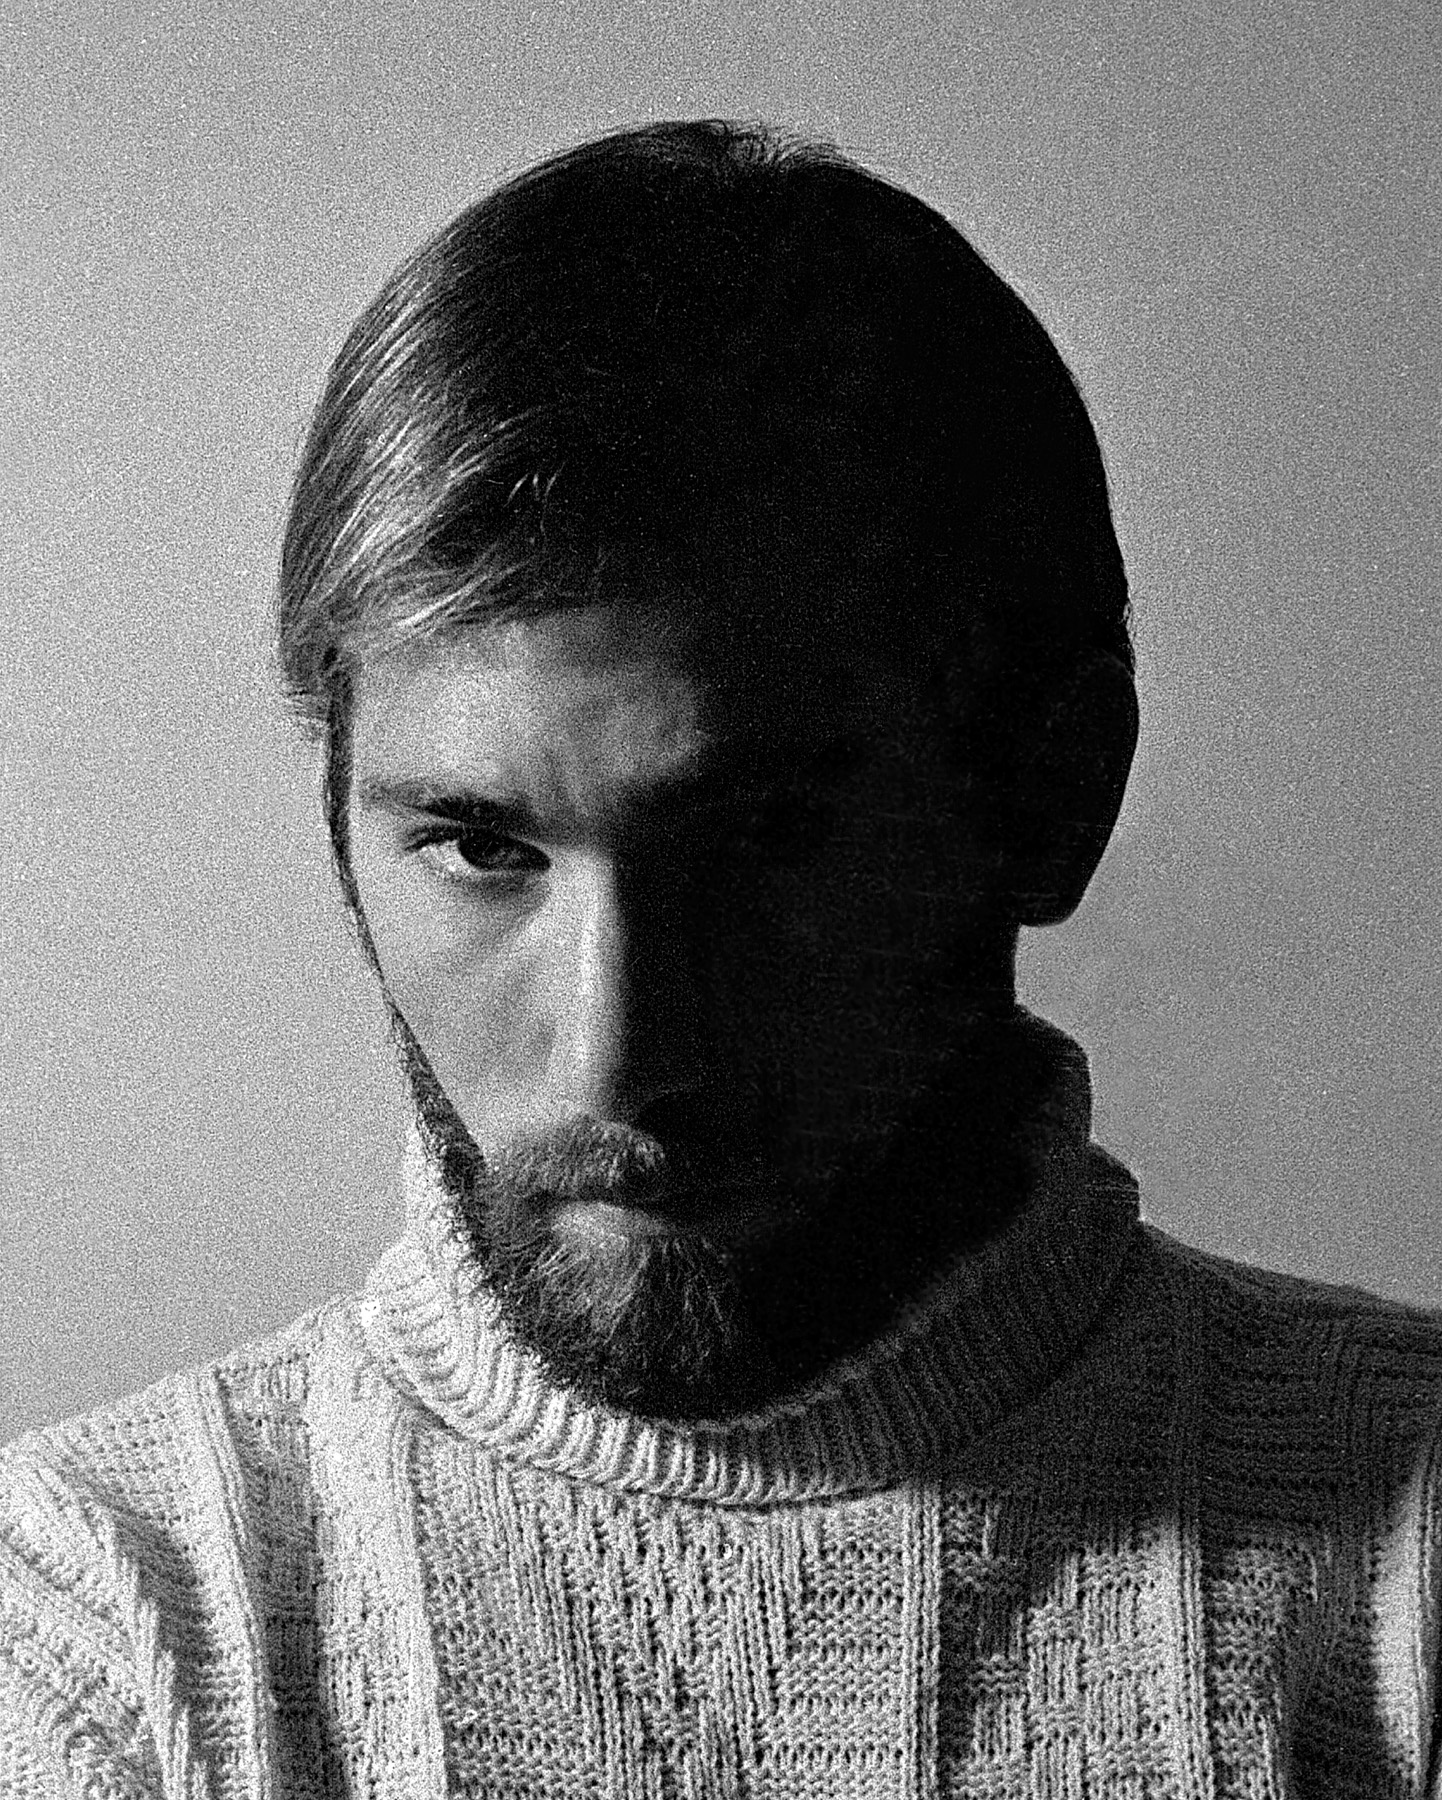
Image 7
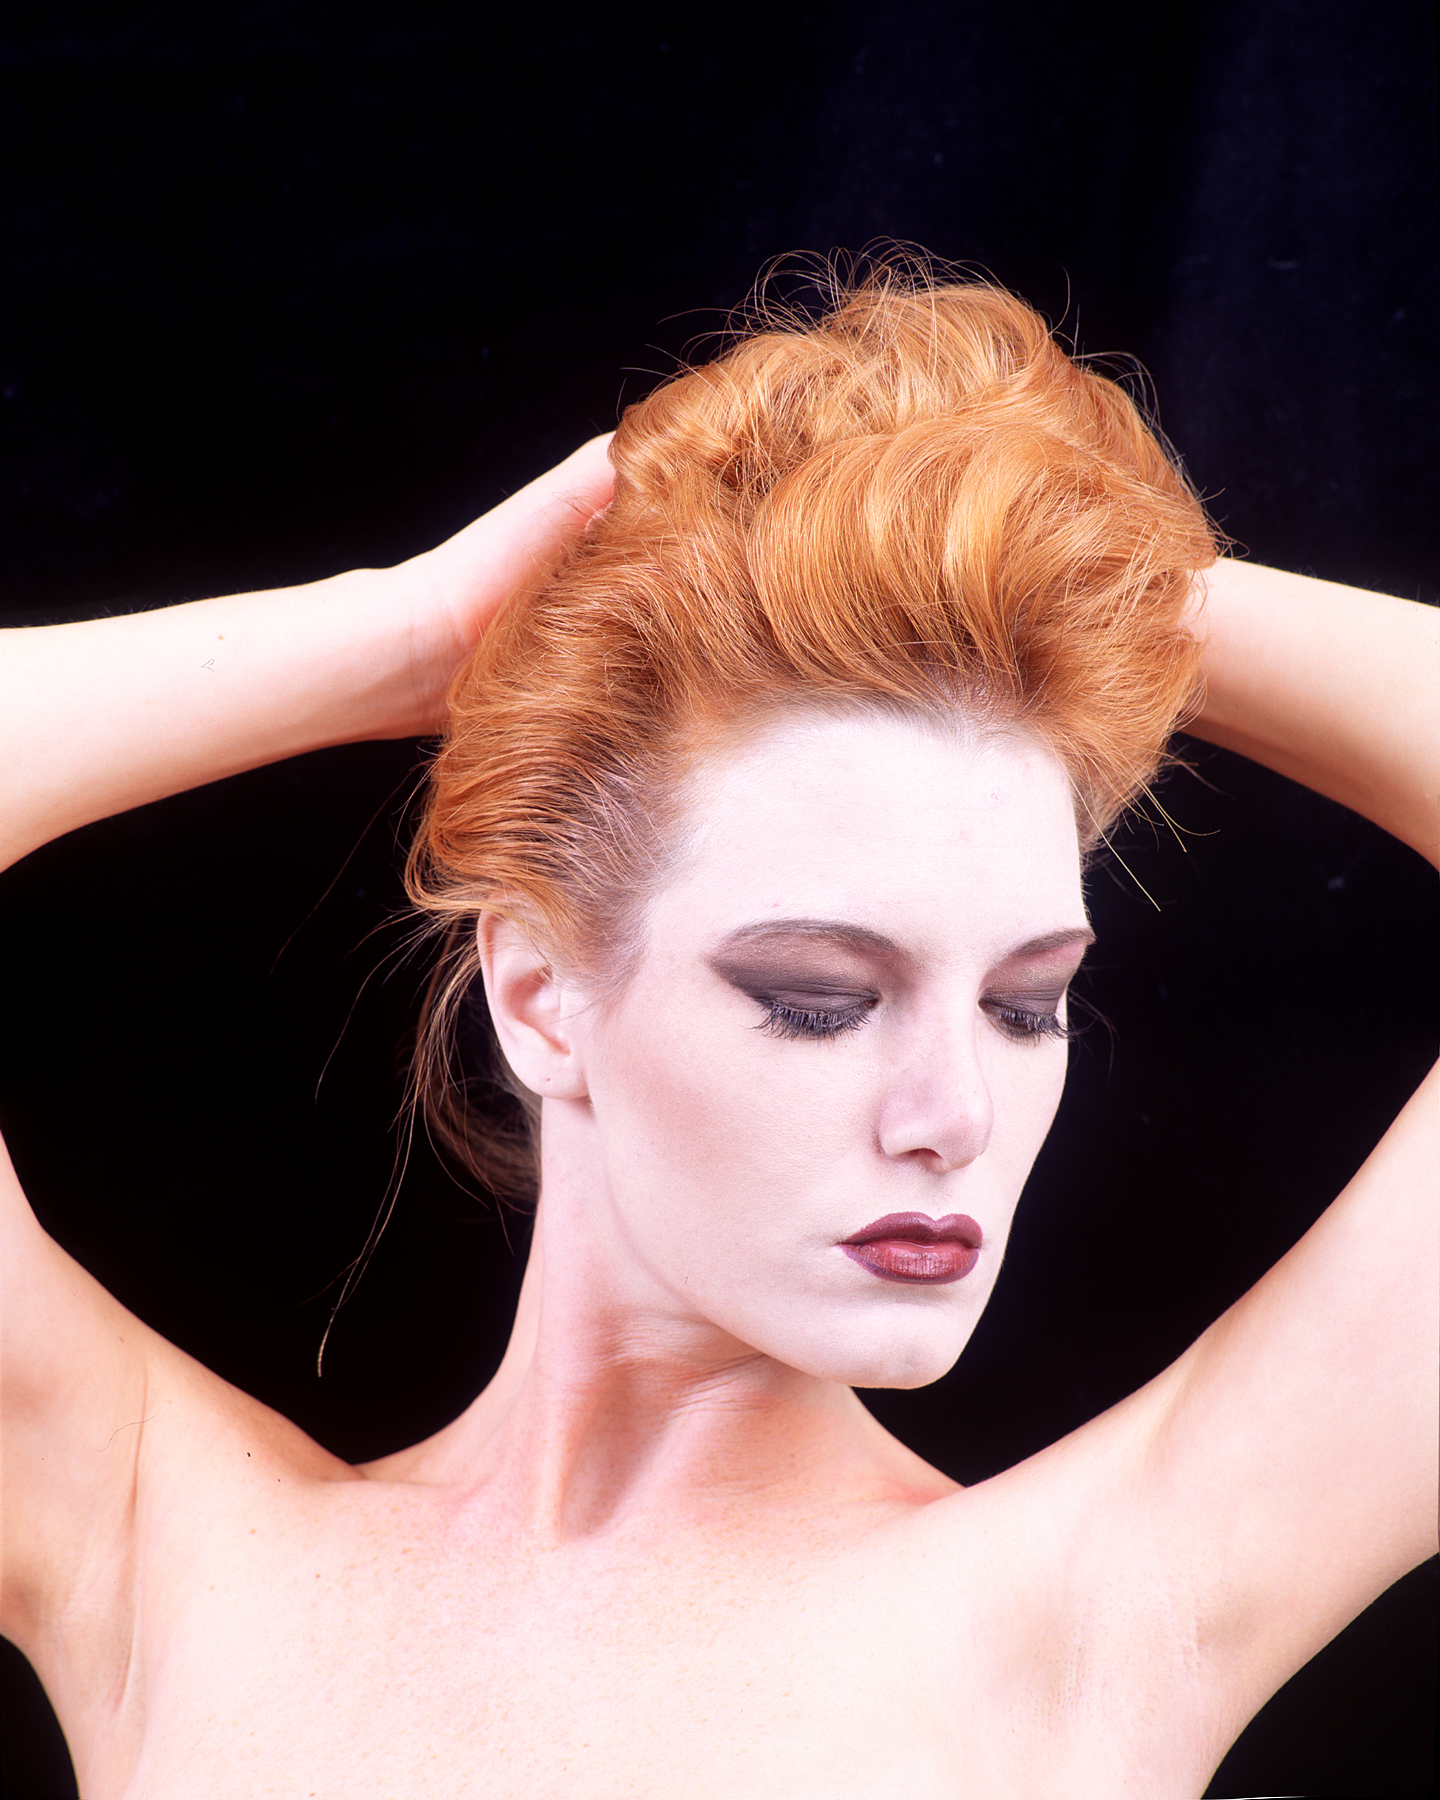
Image 8
The advantage of using a handheld meter when working with light ratios is that you can precisely measure the light on a face or a product. By pointing the white dome of the meter toward the primary light source and taking a reading from the subject’s position, you can determine the correct exposure for the main light. Then you can take a precise reading on a fill light by angling the white dome away from the main light and pointing it toward the fill. By noting the f-stop readouts on the LCD and adjusting the lights, you can find the ratio that makes the subject look exactly the way you want.
Studio lighting doesn’t always have to take place in the studio, of course. When I photographed a bride against a graffiti-covered wall, I turned an outdoor location into a studio. I used a DC battery pack and a monobloc strobe softened by a white umbrella as my main light, image 9, and on the side opposite the main light an assistant held in position a silver reflector that bounced light onto the darker side of the model’s face. I created a 2:1 light ratio by varying the distance of the reflector to the bride’s face and then checking it with a handheld incident meter. In this way, I could adjust the main light and the reflector fill to create the kind of look I wanted, in image 10.
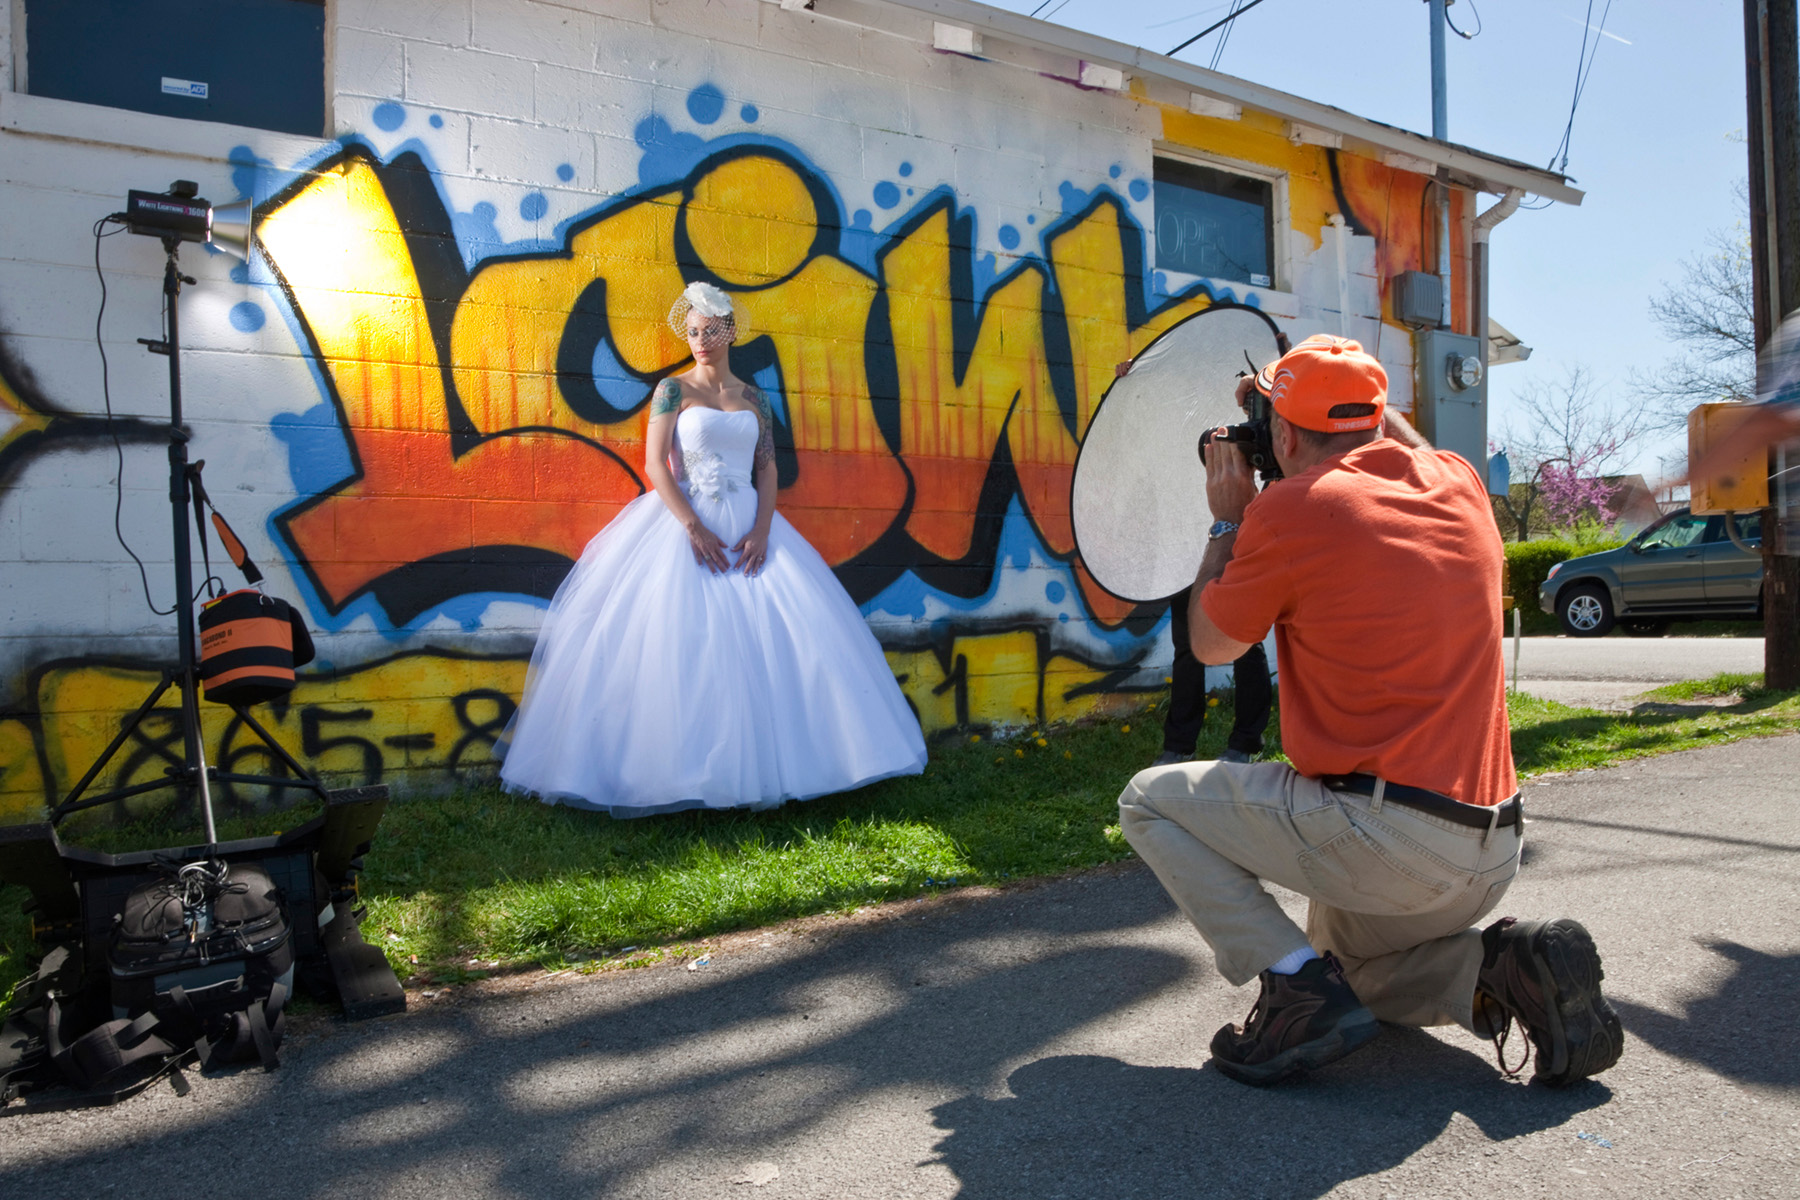
Image 9
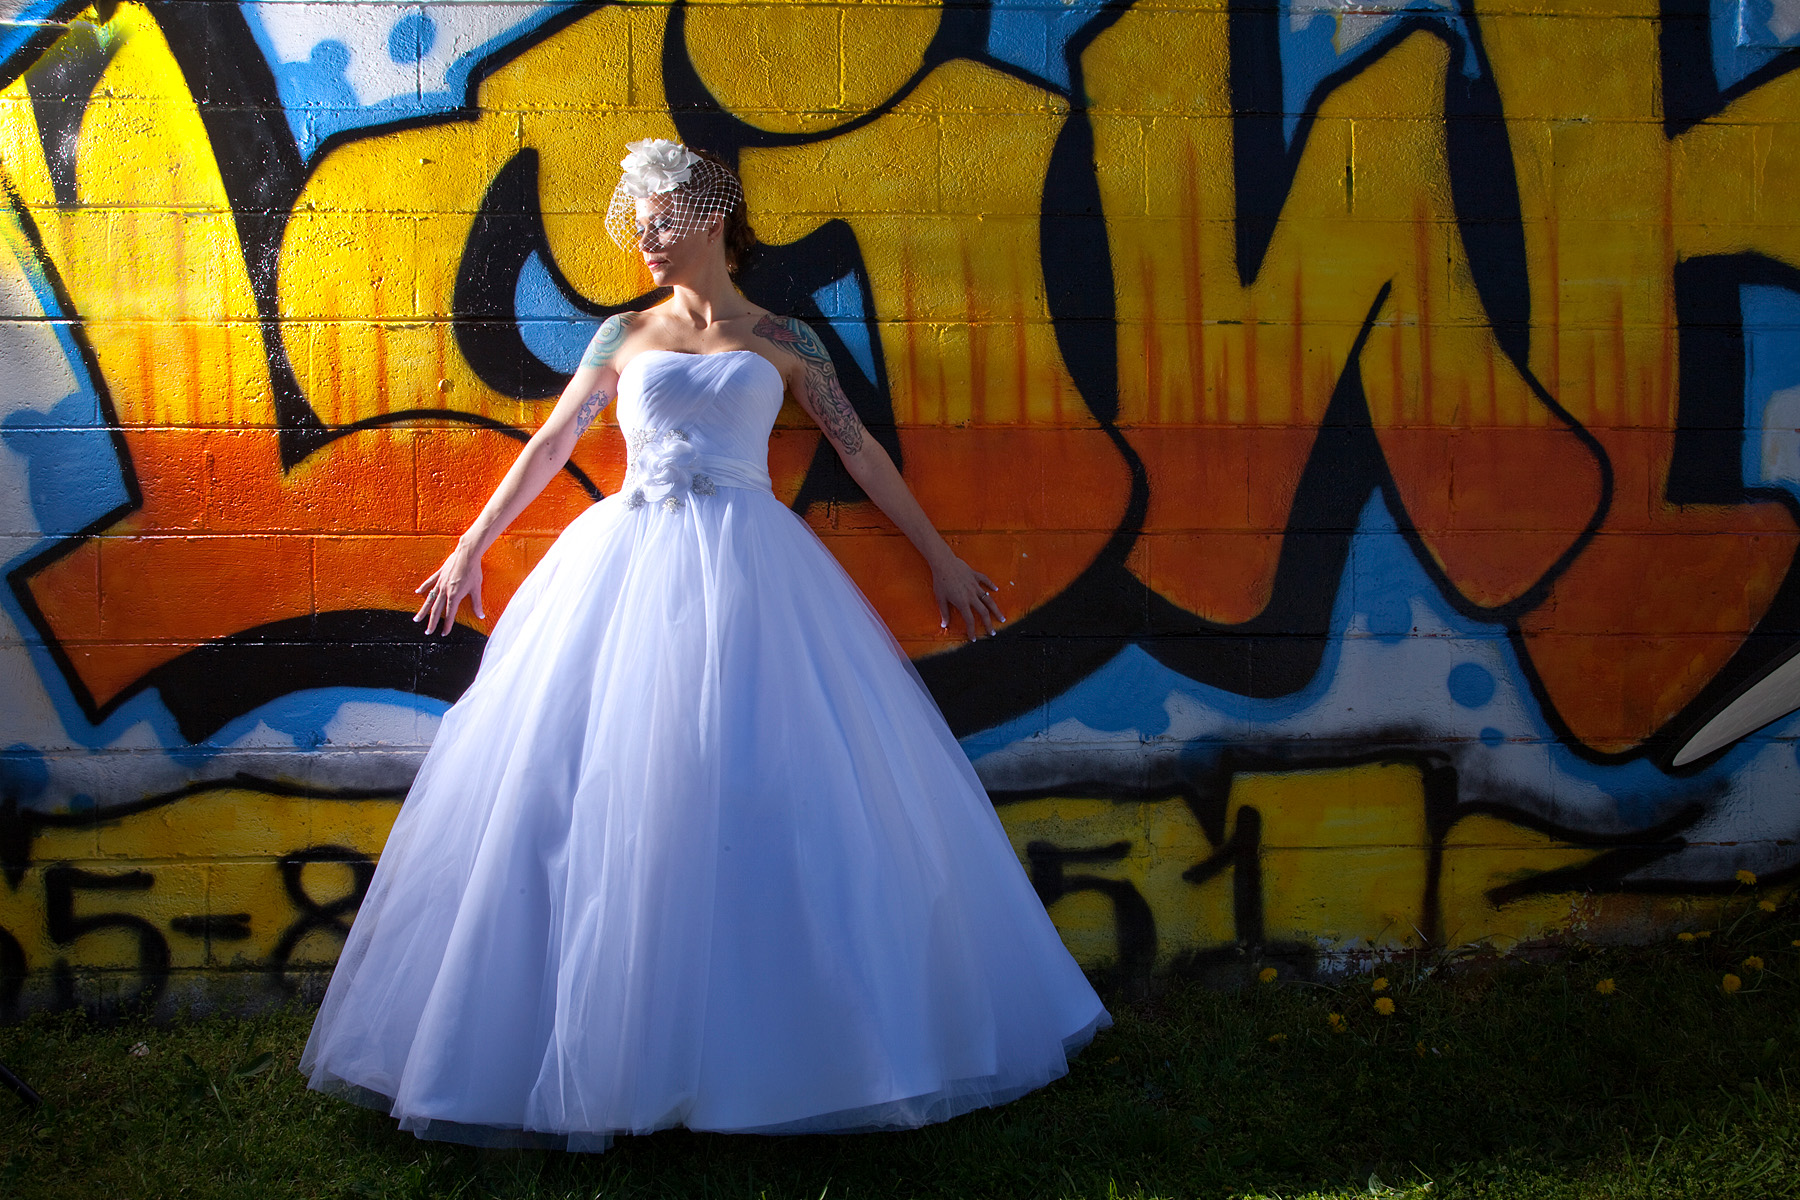
Image 10
Visit Jim online to see his work, online courses, photo workshops, photo tours, and more!
All text and images in this article are © Jim Zuckerman.