Understanding Middle Gray

It's the guiding light for reflected modes such as spot metering. Jim Zuckerman explains how understanding middle gray will help you control exposure and tonality.
In discussing metering techniques, the most important concept to understand is middle gray. The simplest definition is that it is a tone halfway between black and white. You can see the tone I am referring to in figure A. Ansel Adams called this Zone V.
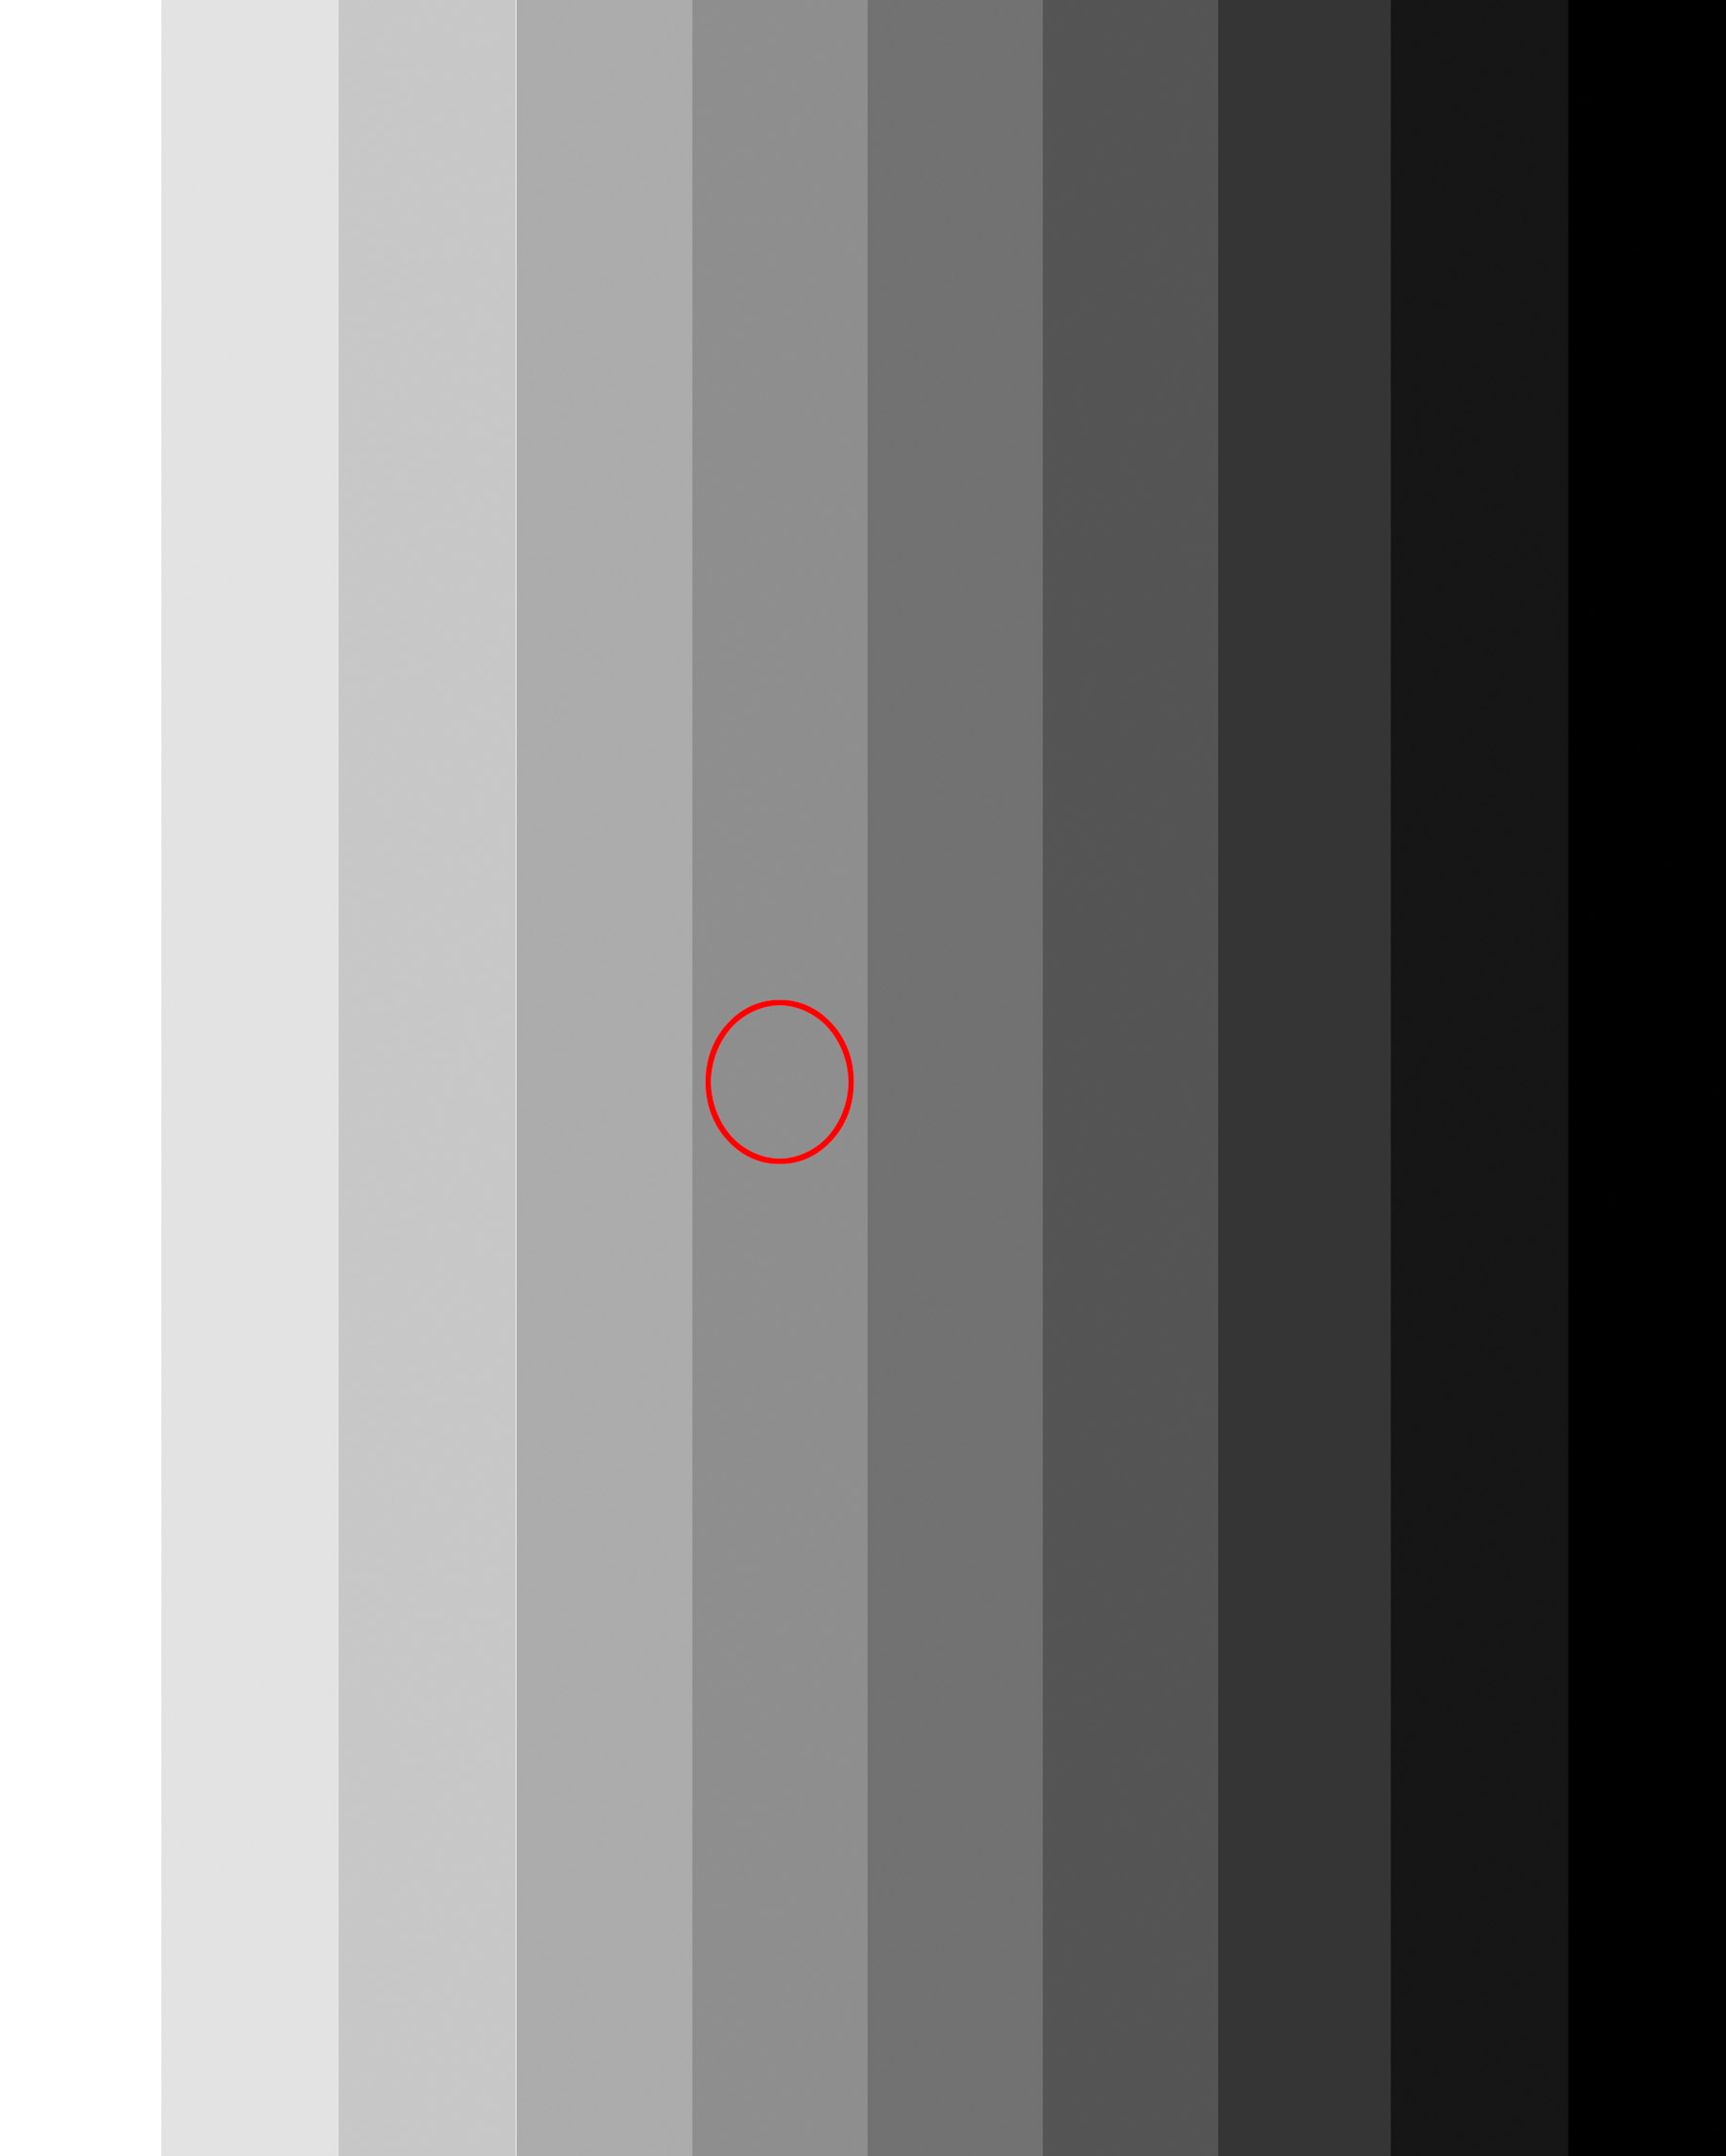
Figure A
In color photography, middle gray can also refer to a color, such as middle red, middle blue, middle magenta, and so on. The point is that the color isn’t important; it’s the tone that meters are programmed to understand. Therefore, we could just as easily say middle tone instead of middle gray.
All reflected light meters (such as the type built into cameras or handheld meters used in reflected mode) are programmed to read the light that bounces off middle-toned subjects. The f-stop / shutter speed combination that results from that reading will give you an accurate exposure.
The landscape image I took in southern Utah, image 1, is a good example of a middle-toned composition. Even though there are several different tones here—some lighter and some darker—the overall image is a subject with primarily middle tones. When any meter interprets the light reflecting from this landscape, the exposure will be correct.

Image 1
The same is true for the photograph of carnival participants in Venice, Italy, image 2. As before, there are small areas of the image that are darker or lighter than middle gray (or middle tone), but the overall composition is approximately in the middle between very dark and very light. This is the kind of light and tone that meters are designed to read accurately.

Image 2
What happens if the scene or subject isn’t middle gray? The answer is that you have to find a middle gray area in the composition and take a spot reading from it. Then, using that reading for the shot, you will get a good exposure. One of the skills required for good exposure technique, then, is to learn to identify middle tones in your compositions. For example, in the bridal portrait, image 3, there are many different tones on the model’s face. Bright highlights and dark shadows on the dress, various tones on the wall, and a significant discrepancy in exposure between her shoulders present a challenge. In addition, you can see that the tattoos on the bride’s shoulders are bright on one side and in deep shadow on the other.
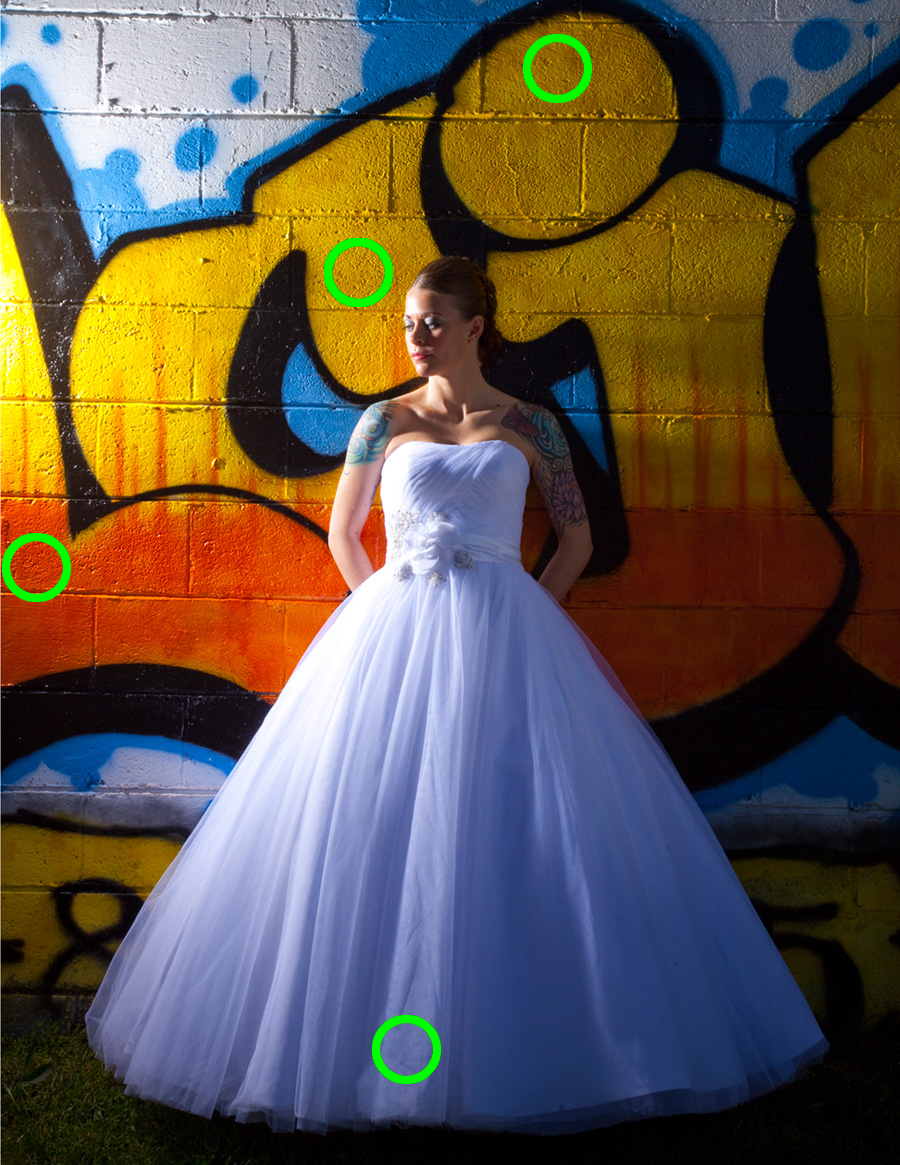
Image 3
If you read the entire scene with matrix, evaluative, average, or partial metering, how do you know for sure that the most important areas in the picture are exposed exactly as you want them to be? The answer is, you just don’t have that kind of control with a built-in meter. If you use the spot mode function in the camera, it will give you a more accurate reading, but—and this is important—it reads 3% to 5% of the scene in the middle of the viewfinder. You have to change the composition in order to place the spot exactly where you want it, and you can easily lose the spontaneity of the moment. Instead, a handheld meter used in spot mode is more accurate because it reads 1 degree of the scene (equivalent to 1/2% of the scene) and it’s quick. You can pinpoint the precise area that you have identified as middle gray, and with one movement of your hand, you can get a reading. From that point on, all the exposures will be correct unless you change the lighting.
In the bridal portrait, the green circles identify areas that can be used to take a perfect middle-tone reading with the 1 degree spot function. With these areas properly exposed, the illumination on the model’s face is light but not overexposed. This is exactly what I wanted.
The key, then, is to identify middle gray in your shots. Images 4 through 10 show various types of images in which I’ve circled the areas in the shots that could be used to give you perfect exposures by taking a spot meter reading on them. Over time you can learn to identify the areas in your shots that are middle gray, and from that point on your exposures will be accurate.
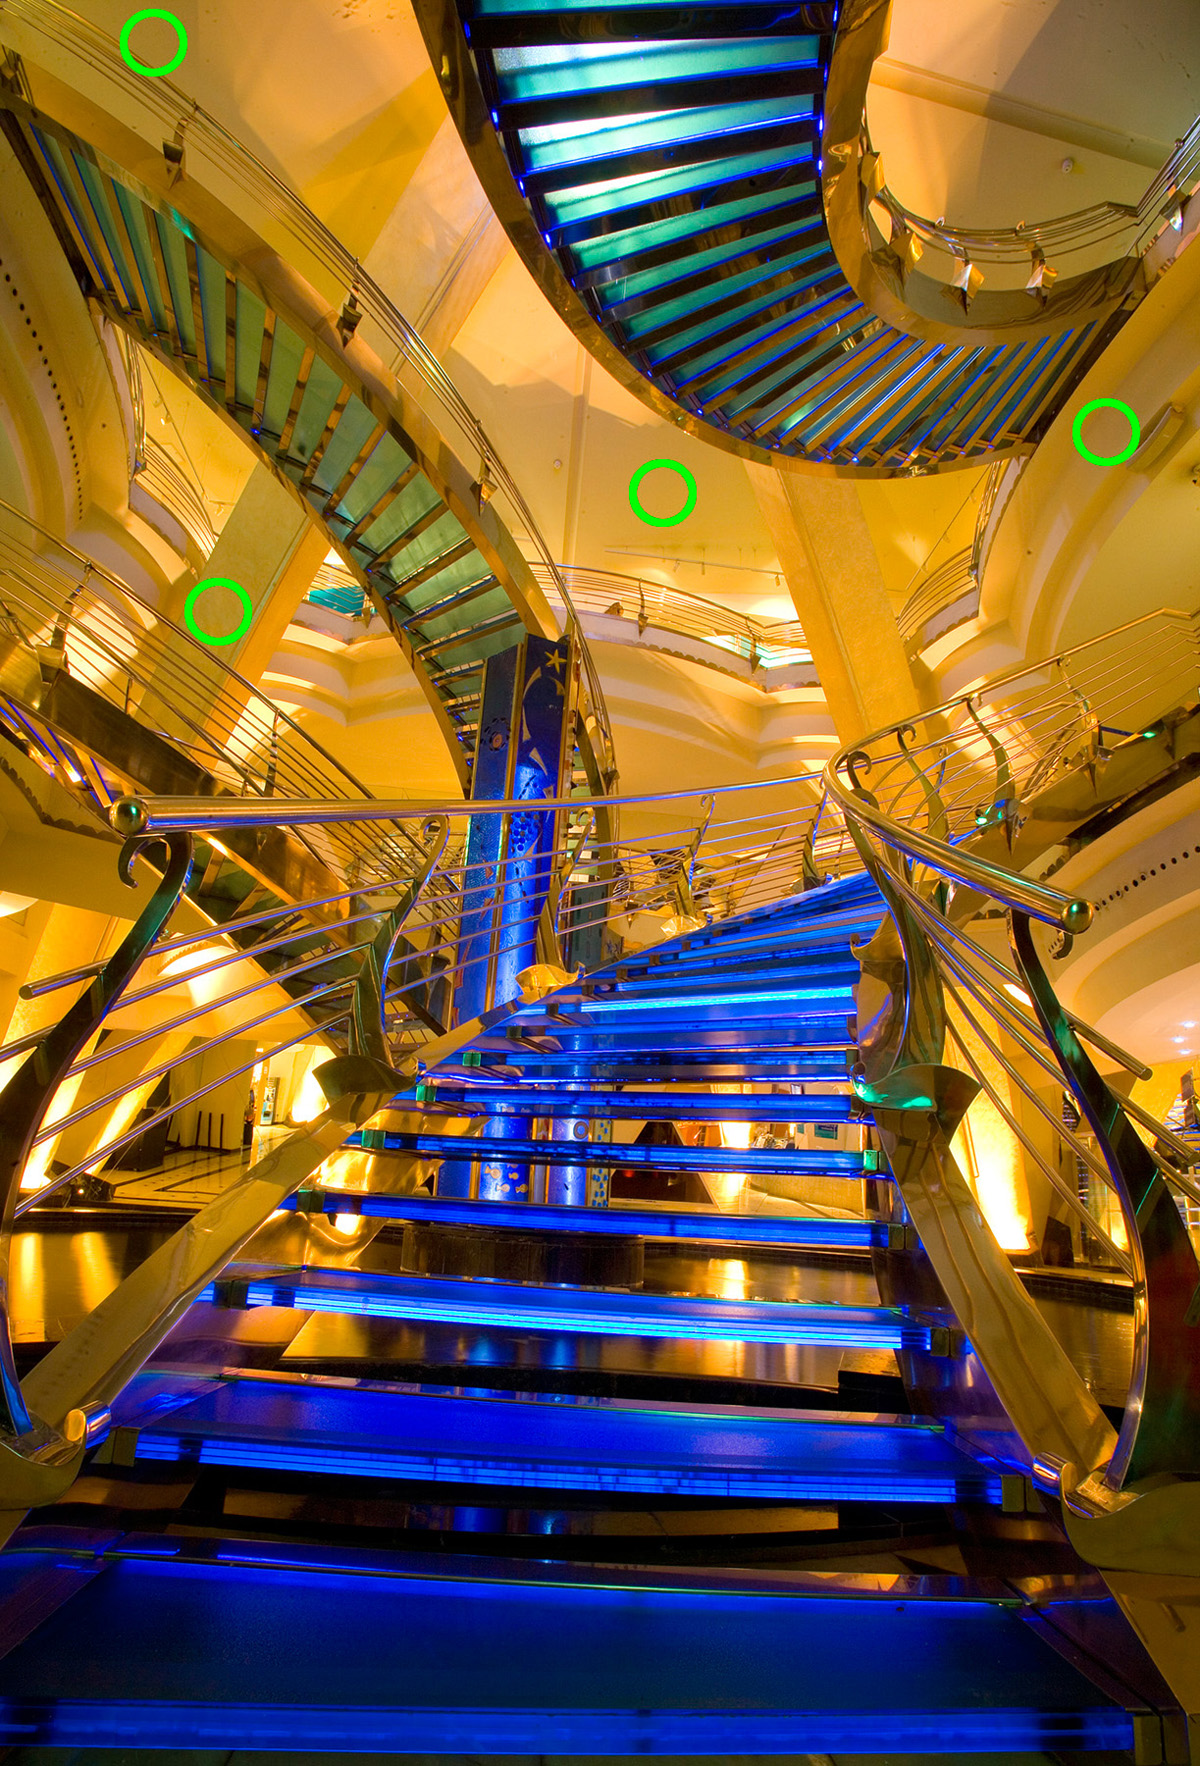
Image 4
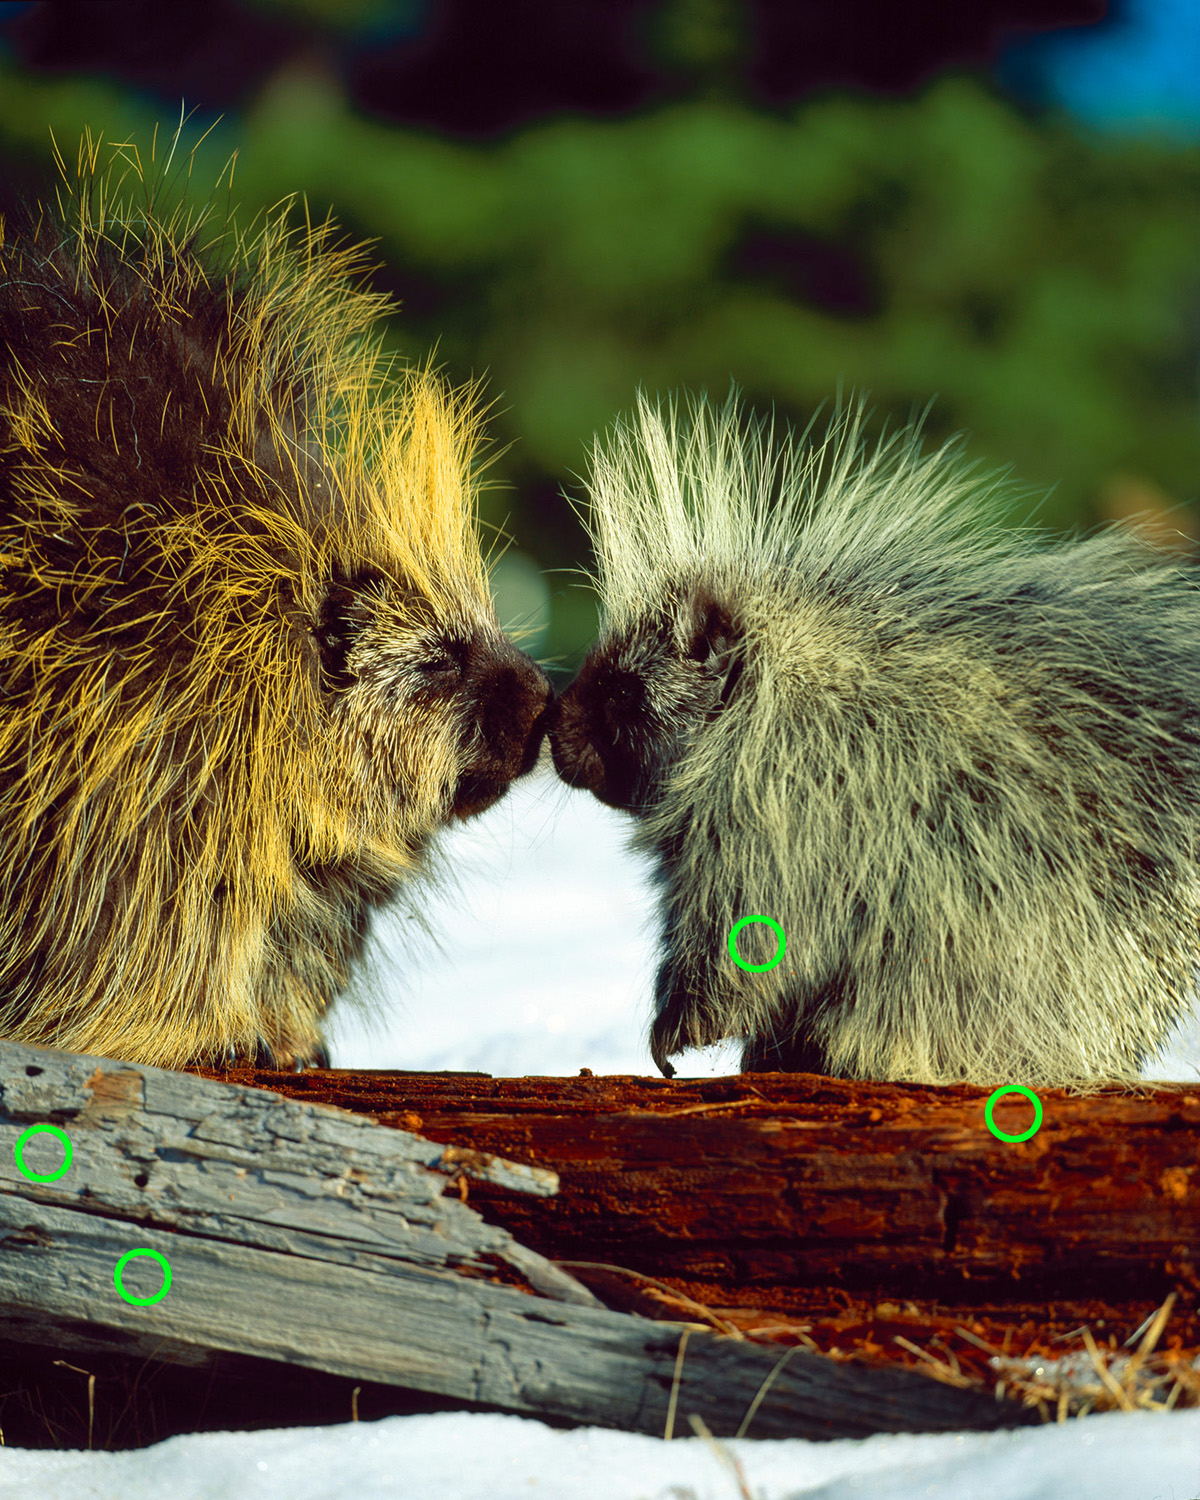
Image 5
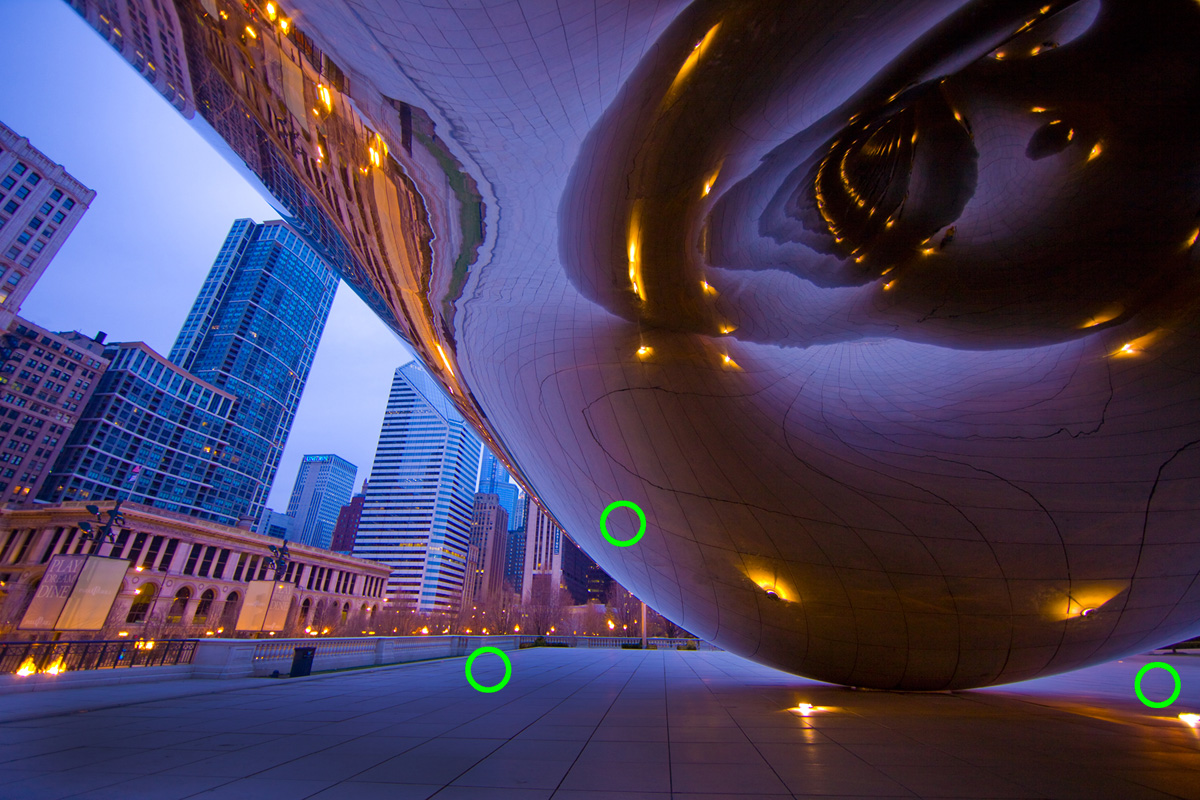
Image 6
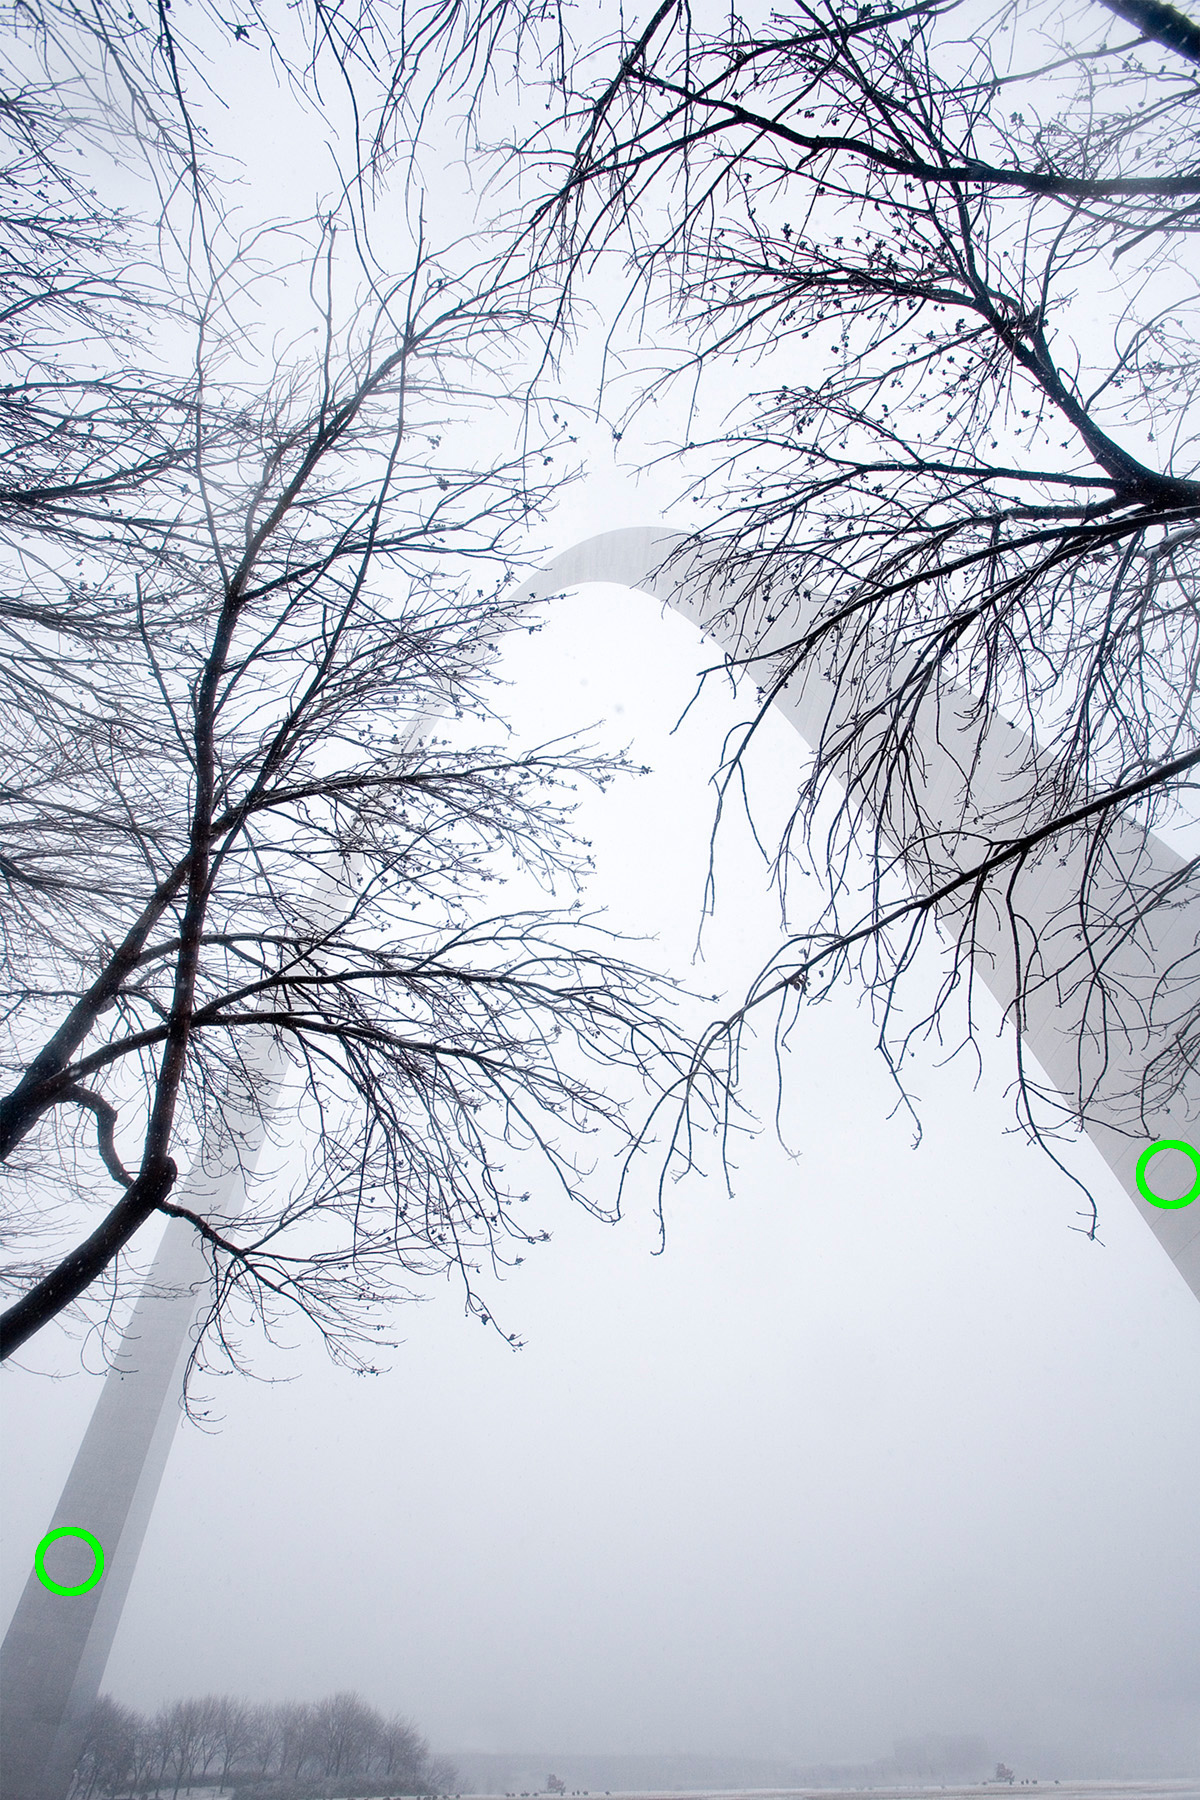
Image 7
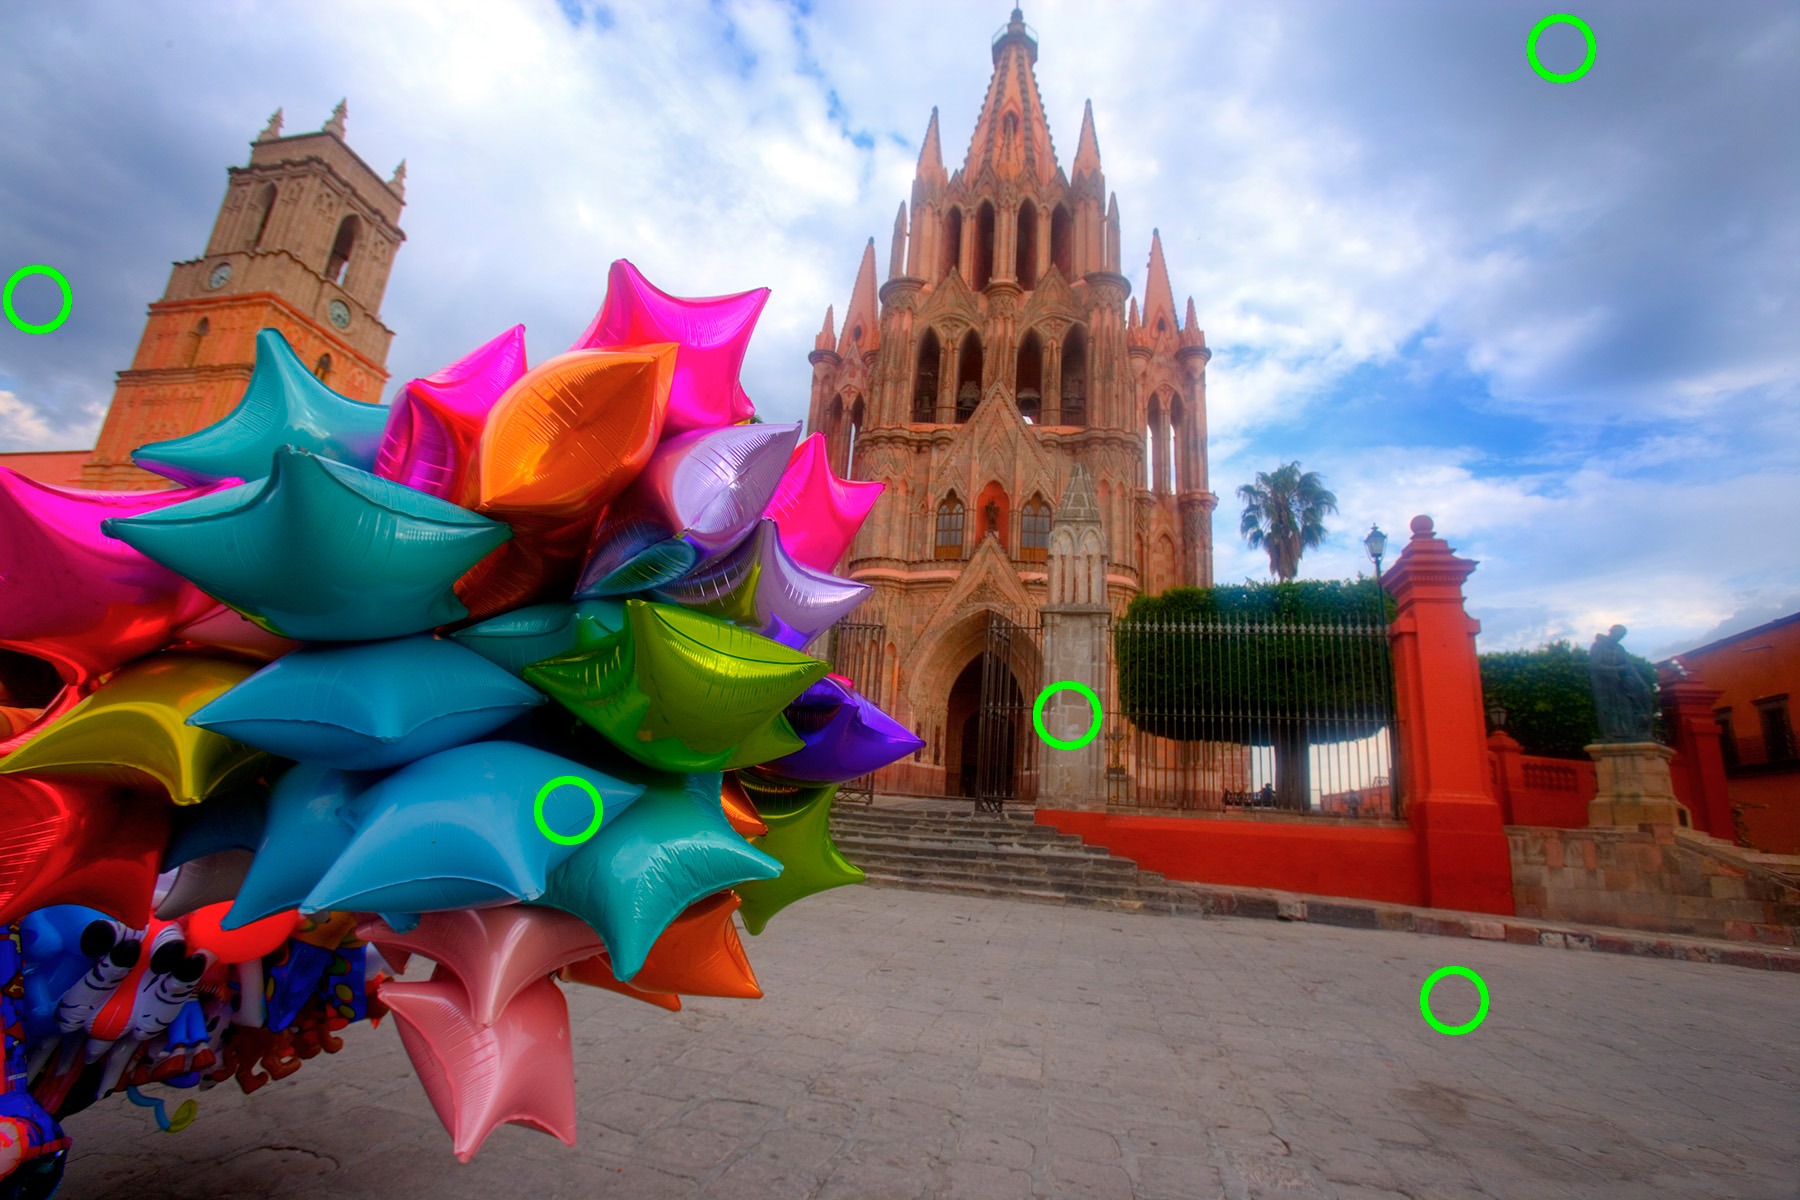
Image 8
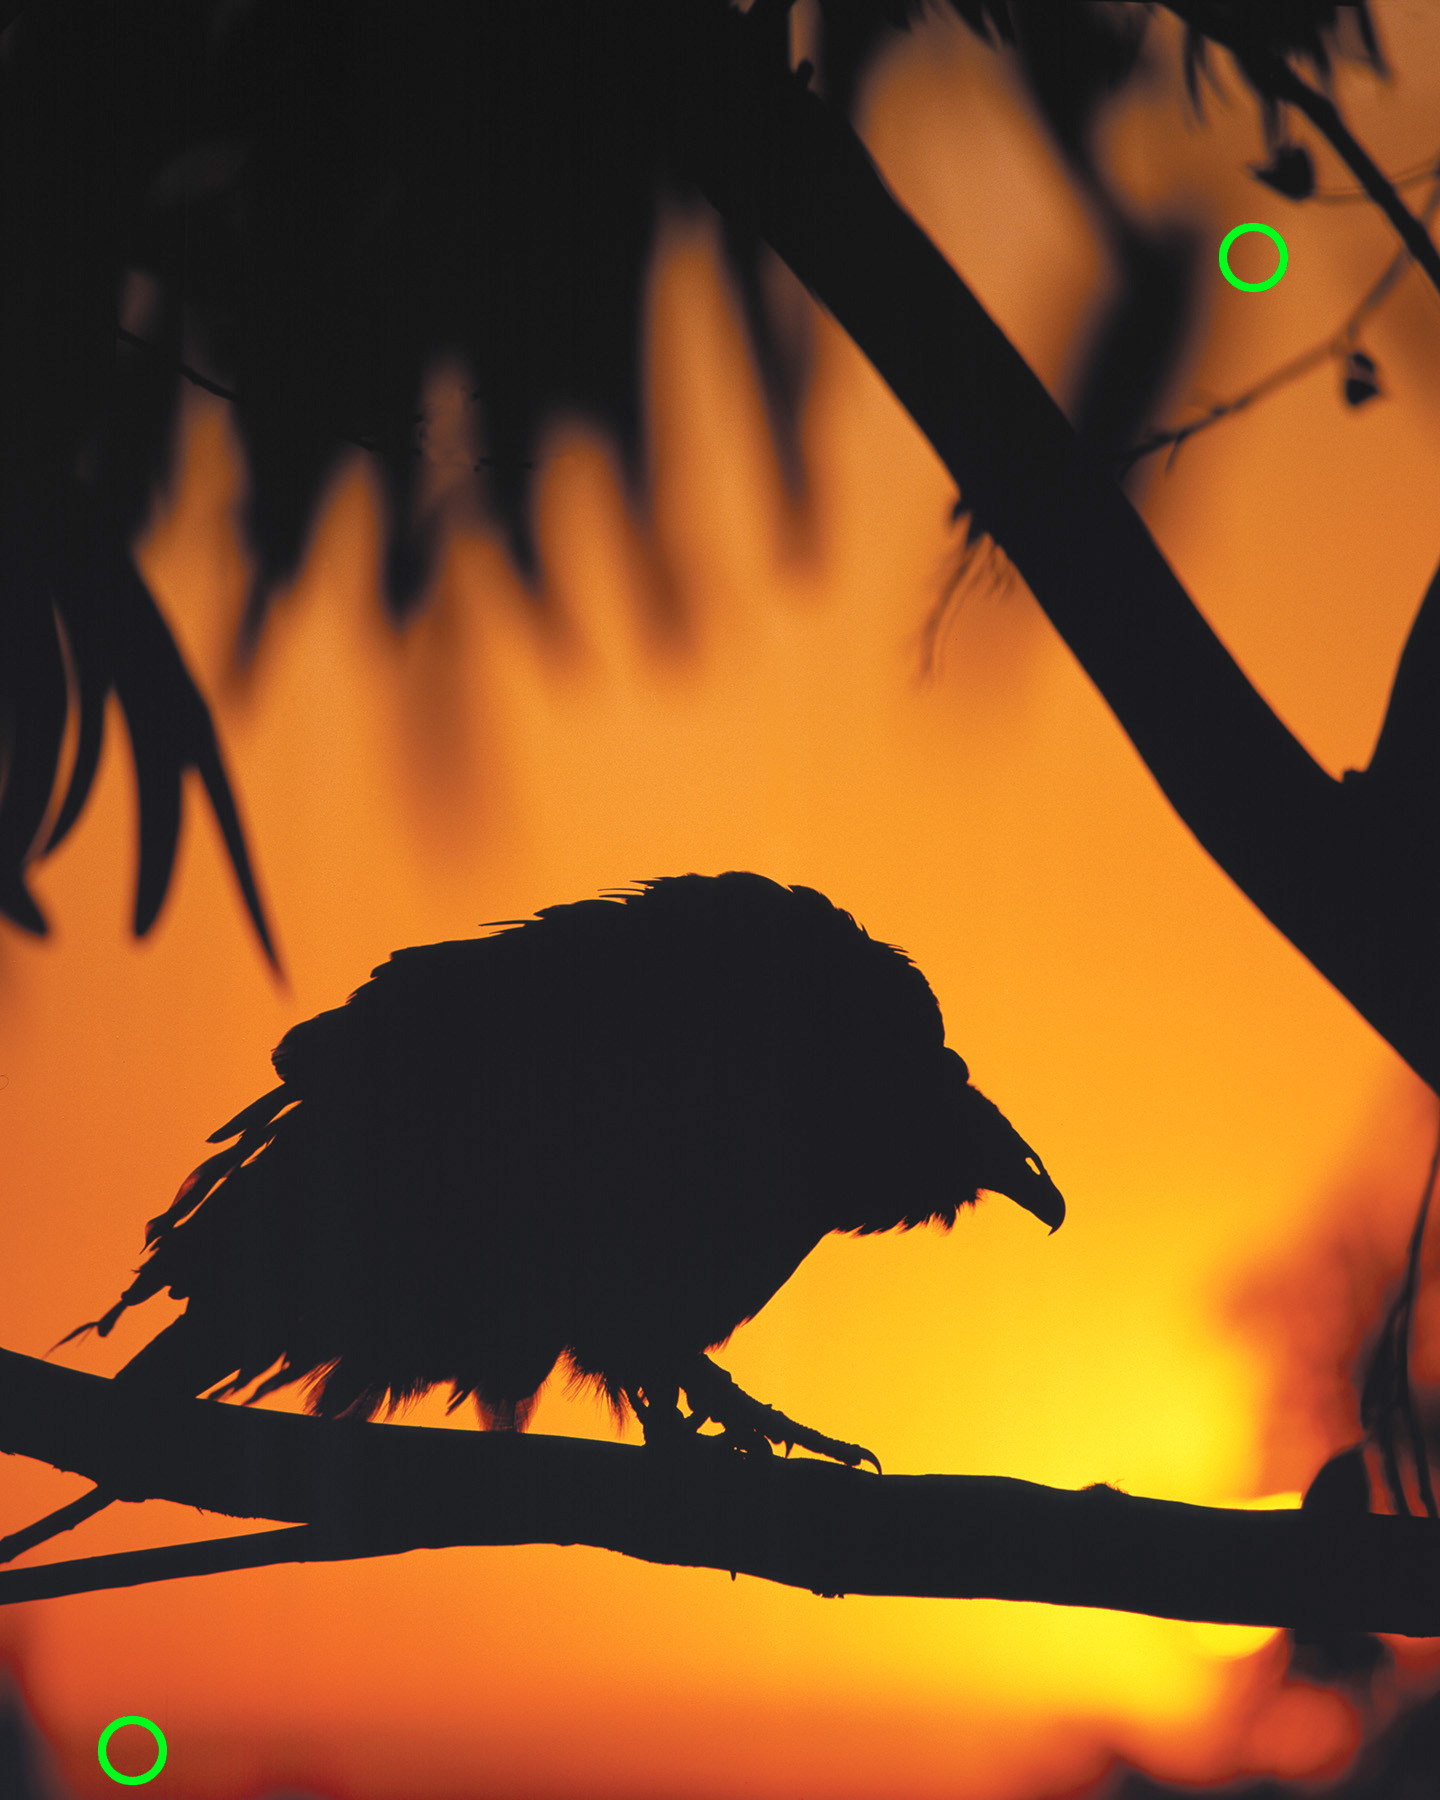
Image 9
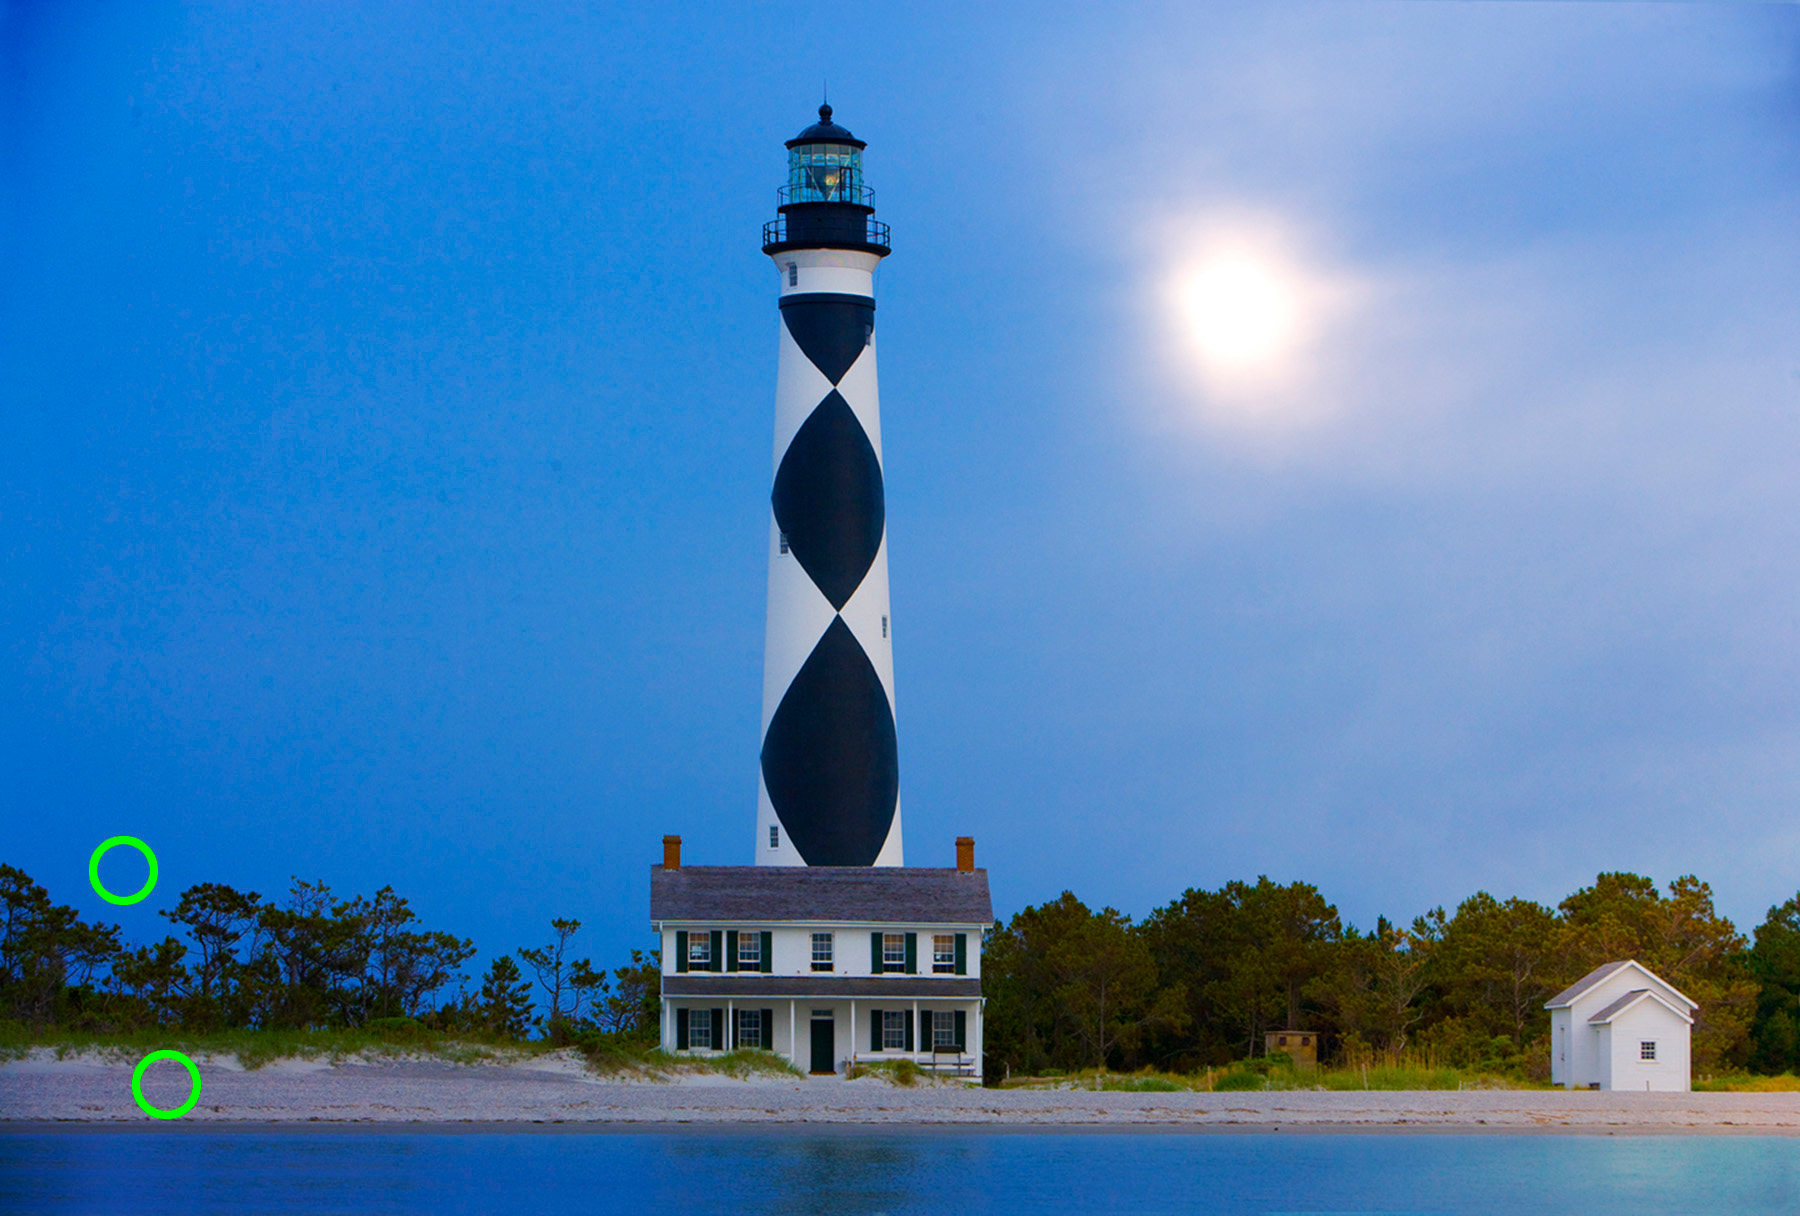
Image 10
What happens if there is no middle gray in a scene? The picture of a baby harp seal, image 11, is an example. The animal’s tongue and the shadow on its bellow are both close to middle gray, but I didn’t have time to take a reading on those areas because the seal was moving. In this kind of situation, you have to find a middle-toned subject from which an accurate reading can be taken. You can use a gray card or, more conveniently, a gray piece of fabric (any color can be used, of course, but it’s easier to match a gray card with a small piece of gray material in a fabric store). That’s exactly what I did. I had sewn a gray piece of fabric onto my photo backpack, and I used a handheld meter to read the middle-toned fabric. Taking the camera off automatic exposure and using manual mode, I set the lens aperture and shutter speed manually, and then all my shots were perfect. Once this is done, no further light readings are necessary until the light changes.

Image 11
I used the same technique when I photographed the lone tree in a snow field in Michigan, image 12. Having the gray piece of fabric on my photo backpack is a lifesaver when I need a middle-gray reference point.

Image 12
Visit Jim online to see his work, online courses, photo workshops, photo tours, and more!
All text and images in this article are © Jim Zuckerman.